Publishing approvals
Approvals is an optional configuration that, when enabled, require Action Flows to first be approved by workbench members in approval groups you've chosen, before they can be published. If Approvals are not configured, then Action Flows can be published by any workbench member who has admin permissions on the card template resource.
To set up approvals, you need to do the following:
- Create at least one approval group and assign workbench members to it.
- Configure the approval process.
Any subsequent publishing of the new draft versions will be subject to the current approval requirements.
Create an approval group
Creating groups is explained in the Group section of the workbench permissions article.
You first need to create one or more roles that you can then assign to the group of approvers.
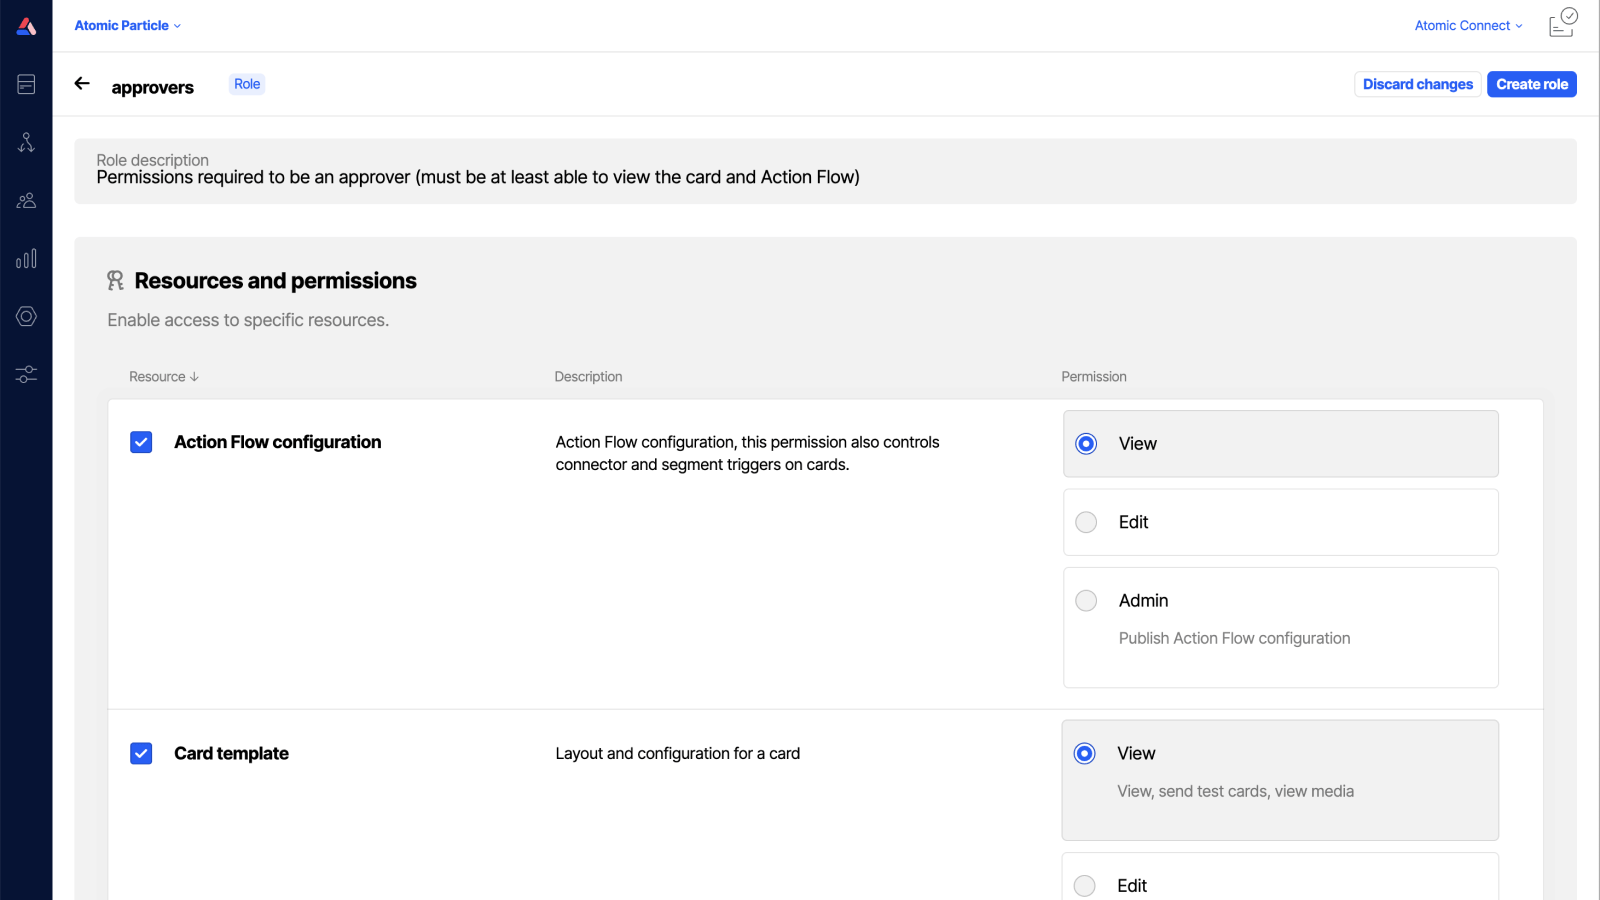
1. First add a role that gives permission to view card templates
Click the 'manage' button in the bottom left corner > Workbench members. Alternatively, open the command palette and type Workbench members. Select Roles, then click Create a new role.

Name the role, and give it a clear description. For example:
- Title: Card Approvers
- Role description: Role access for card approvers to be able to see card templates
Give it access to the Card template resource, with View level of access.

2. Add the role to a group
Now create a workbench member group for each unique area of your business that needs to approve a card before publishing. For example, legal, data, and product teams.
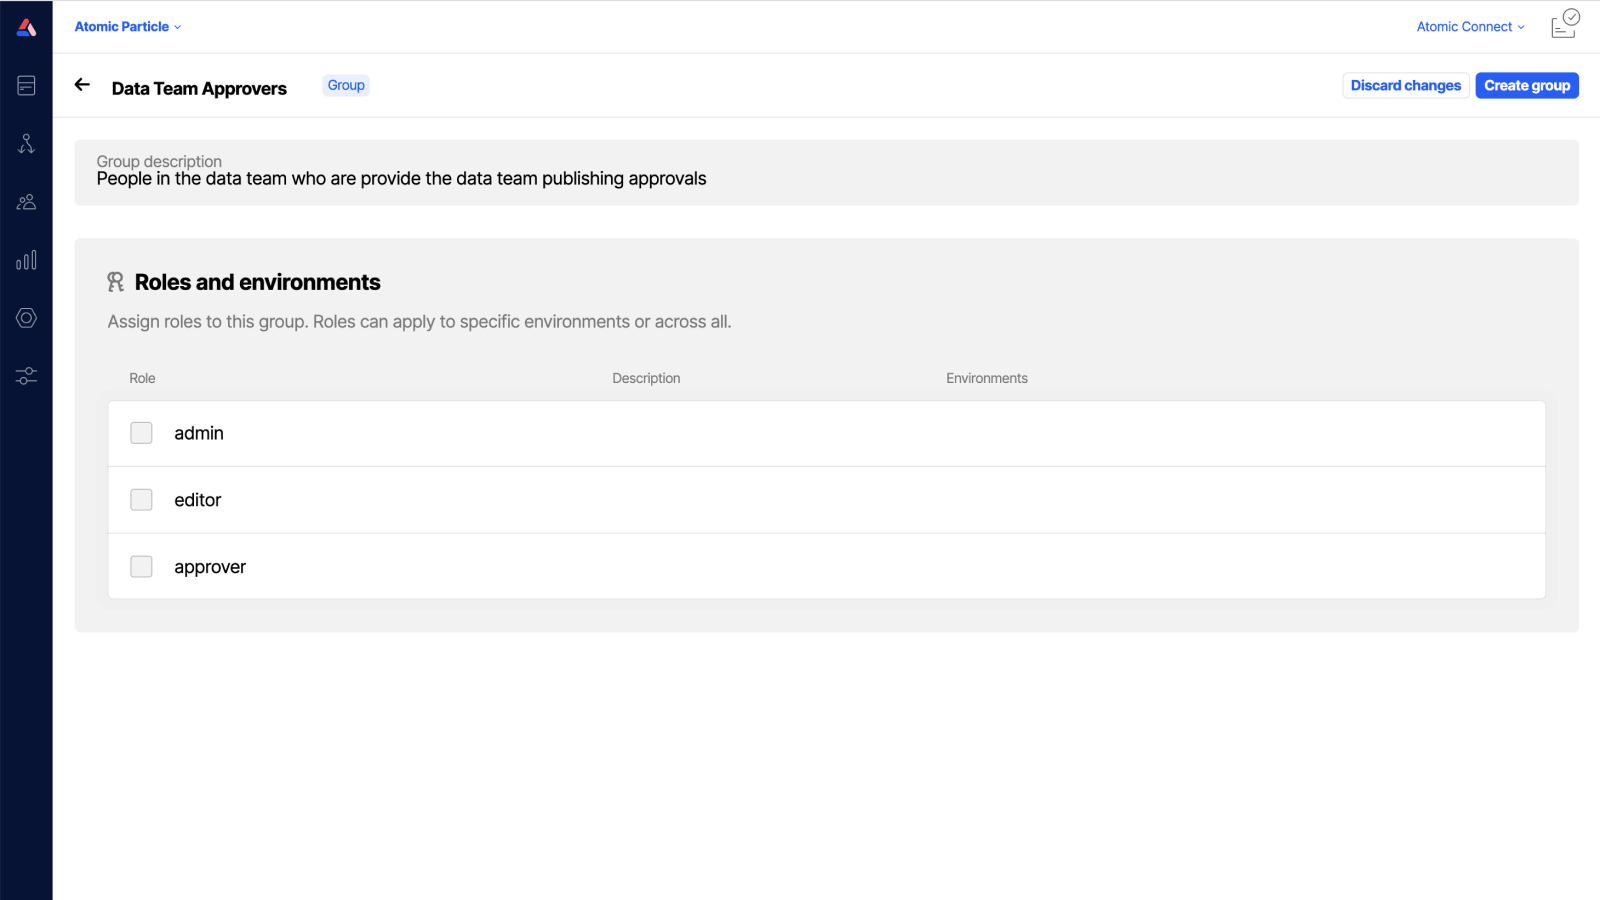
Click the 'manage' button in the bottom left corner > Workbench members. Alternatively, open the command palette and type Workbench members. Select Groups, then select Create a new group.

Name the first group, and give it a clear description. For example:
- Title: Card Approvers — Legal
- Group description: A group for members of our legal team who can approve cards
Now give this group access to the Role created in stage one: the 'Card Approvers' role.
Configure approval permission to only some environments using Permissions
Repeat this step for each group of Workbench members who need to approve cards. For example, you may like to add a group called 'Card Approvers — Data' and 'Card Approvers — Product' also.
3. Add workbench members to group(s)
When inviting new members into the workbench, you’ll now be able to add them to any of the new approver groups.
If you already have workbench members in your environment, you can now add them to the appropriate group.
Click the 'manage' button in the sidebar menu, choose Workbench members, then in the Workbench members tab select the member you wish to edit, and then check the box next to the appropriate Group from step 2. See more at Preferences
Configure the approval process
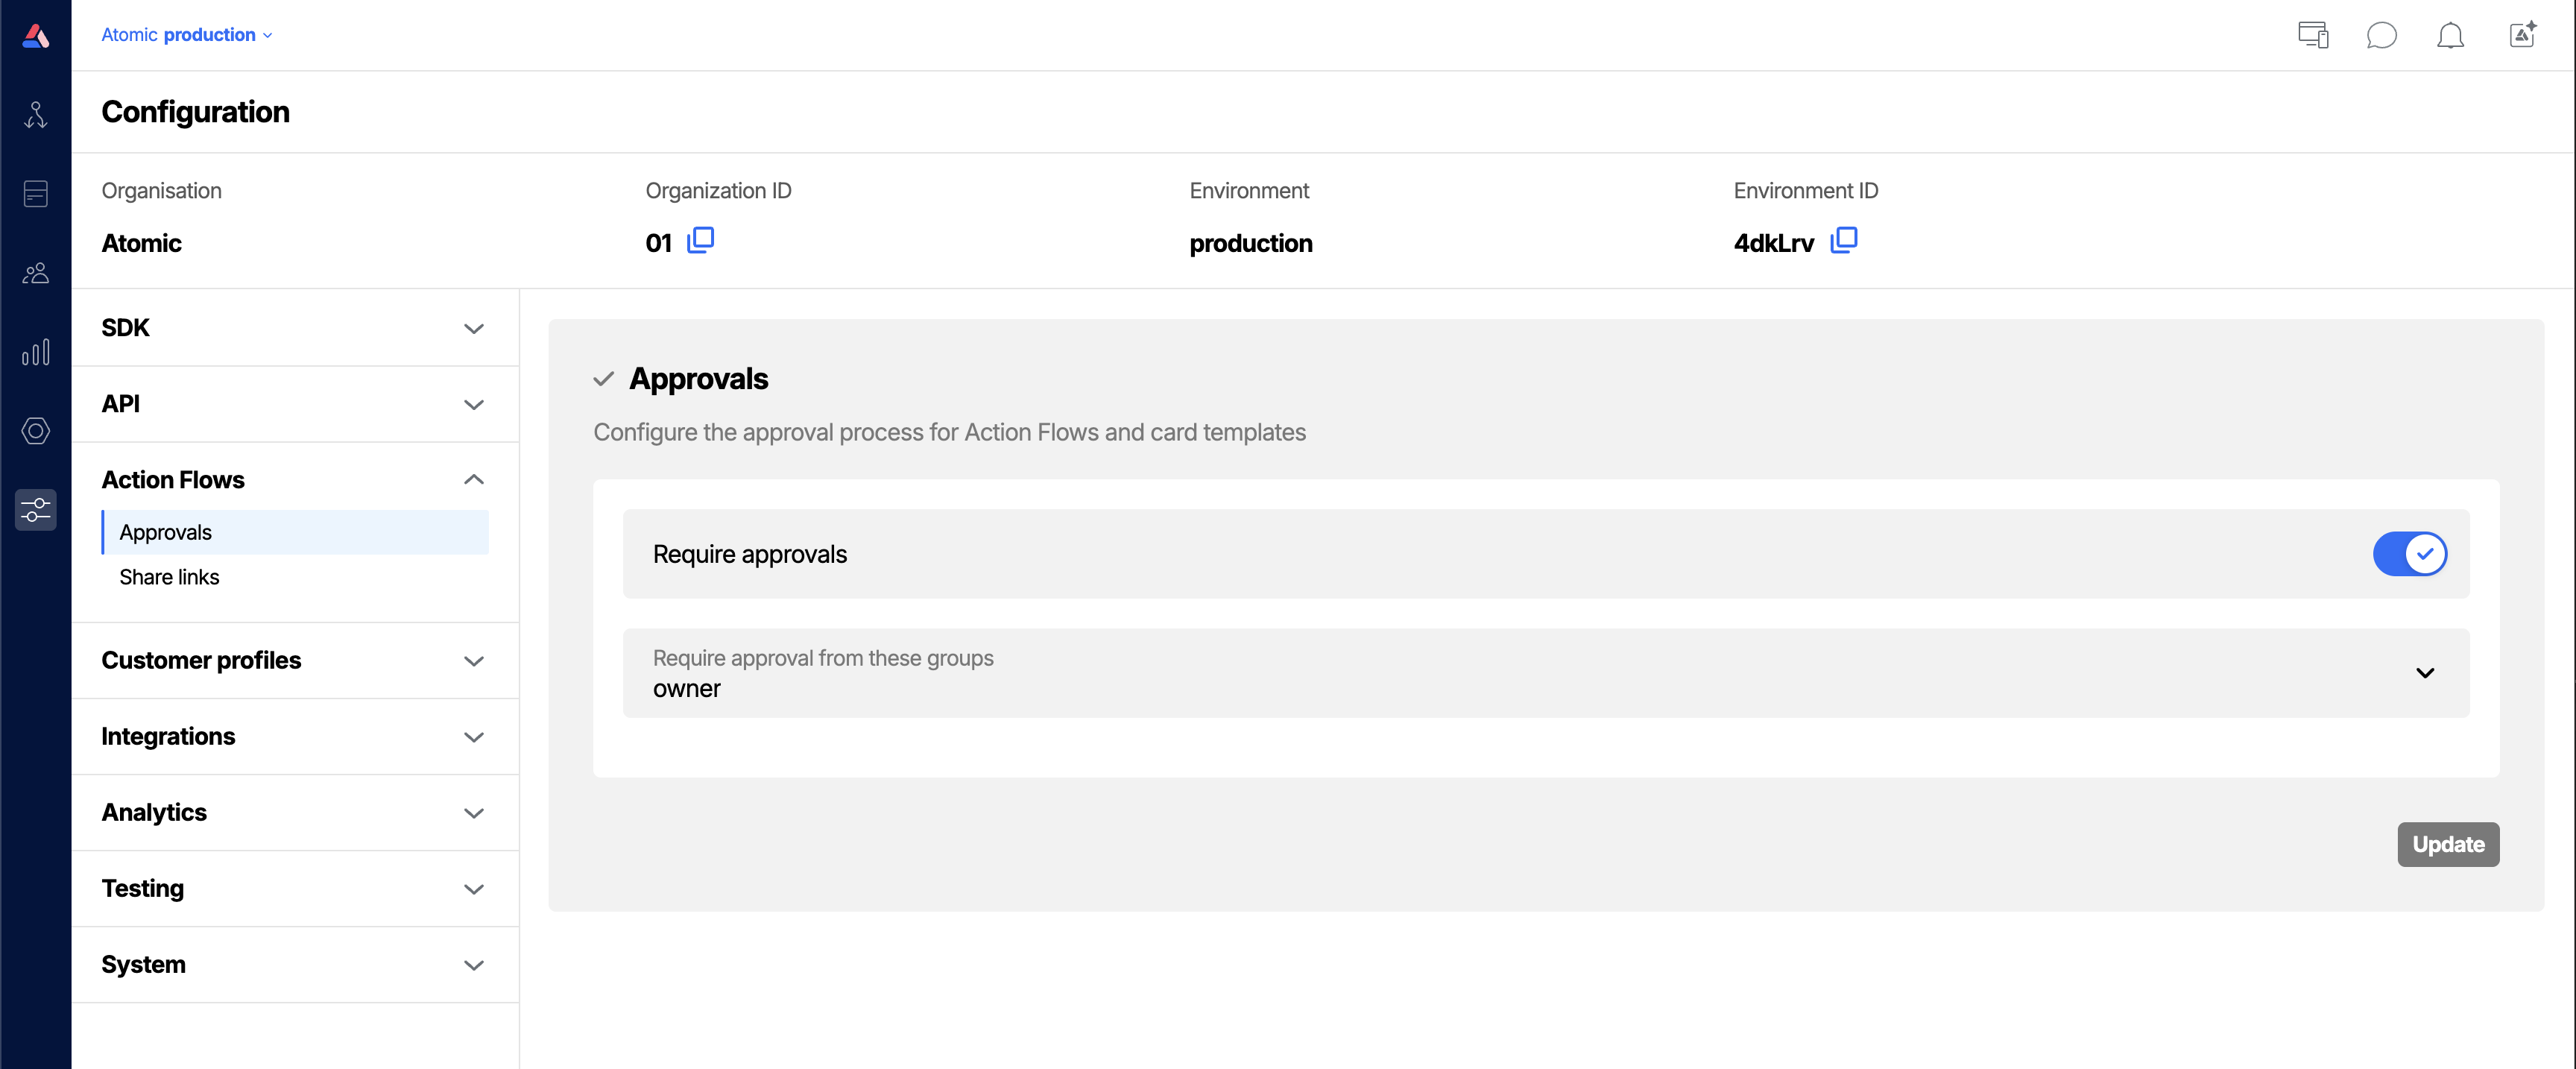
Go to Configuration > Action Flows > Approvals. Alternatively, open the command palette and type Approvals. Toggle Require approvals on. This setting applies for the whole environment.

Next select all of the groups who are required to approve cards, and select ‘Update’.
The approvals configuration screen enables you to specify one or more groups that need to approve the card before it can be published. If you select multiple groups, each of these groups needs to approve the card template. If a workbench member belongs to multiple approval groups, they can select on behalf of which group(s) they are approving.
Set up approval override permissions
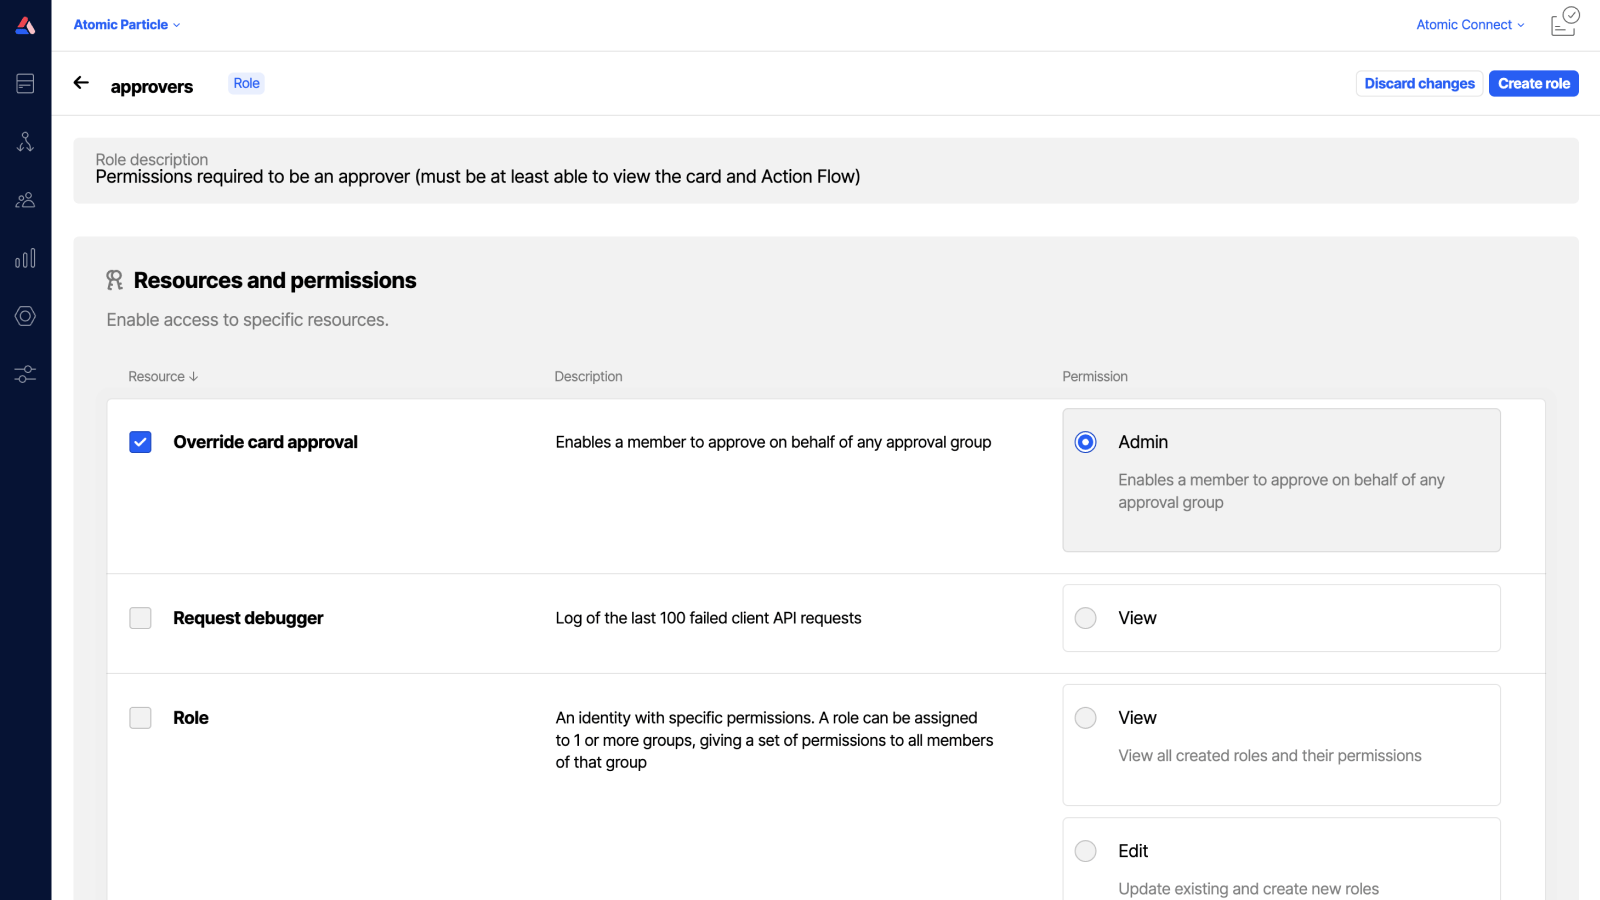
We recommend giving one or more key team members permission to approve card templates without having all necessary approvals in place, so cards can be approved in a time of extreme urgency.
This can be done by giving Admin permissions on the Approval Override permission.
