Creating Action Flows
Just need a quick guide to get going quickly? You're in luck 👇
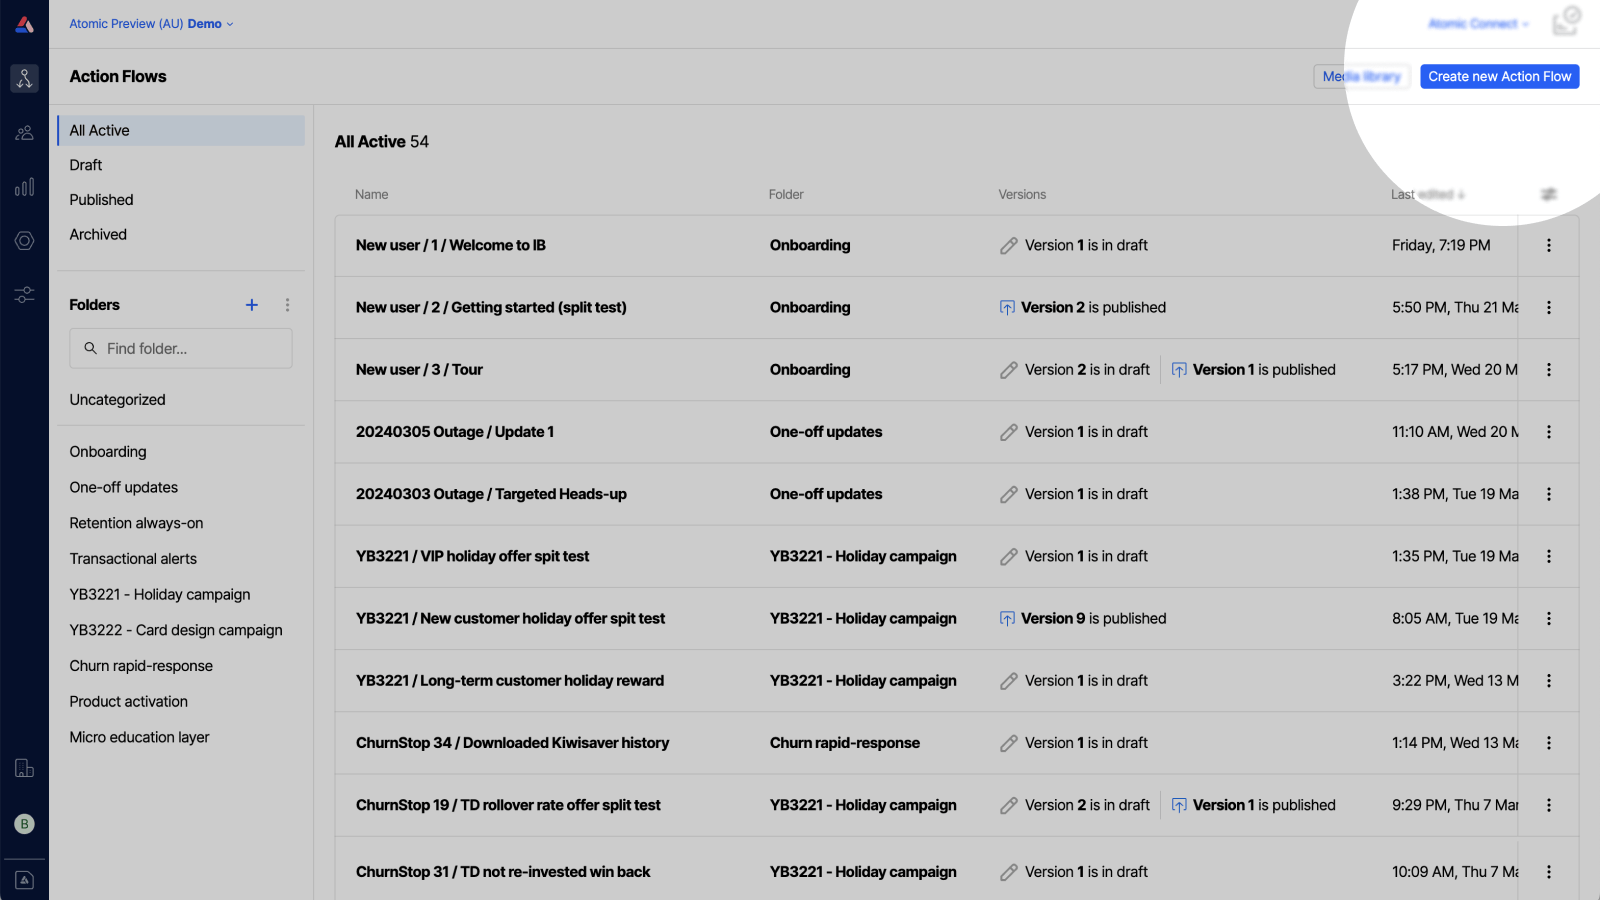

Create a new Action Flow from the dashboard
From the Action Cards dashboard (Action Flows in the sidebar menu) click create new Action flow in the top right.
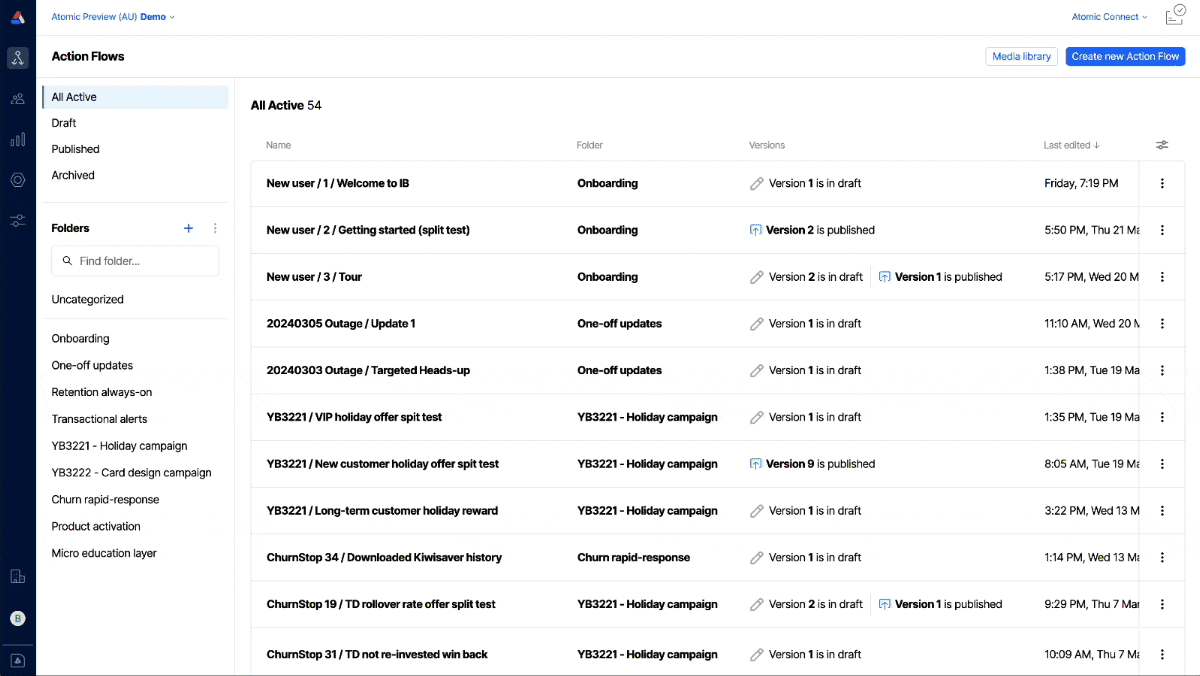
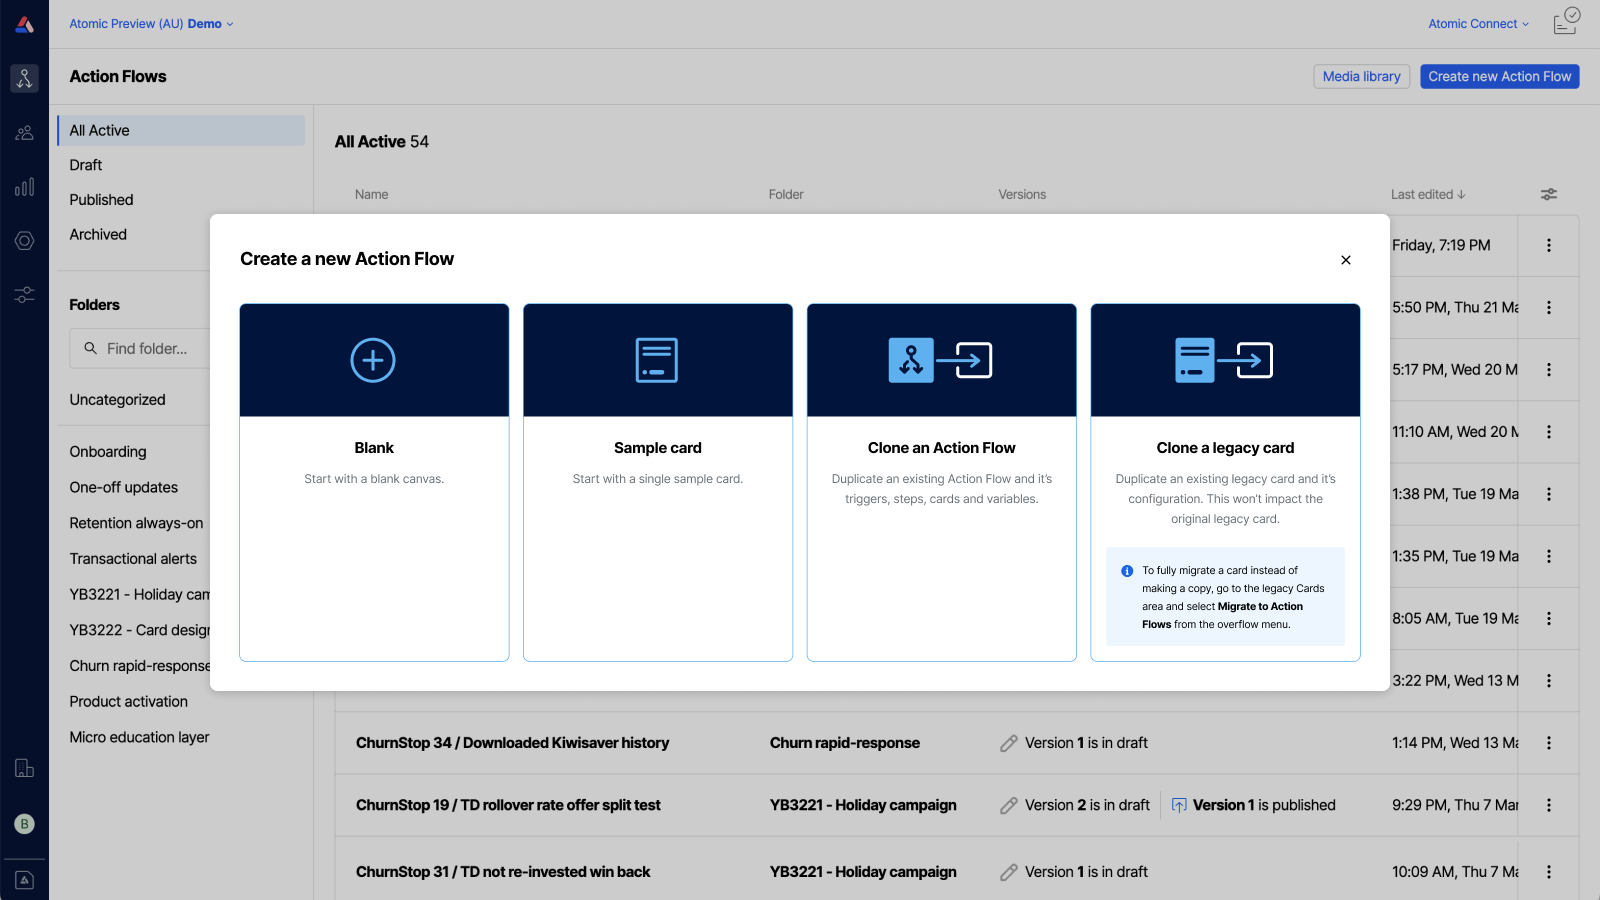
Click Create new Action Flow and choose how you'd like to start
When creating a new Action Flow, you'll be offered the following choices:
Blank
- Choose blank when you want a completely blank canvas, containing no card templates, or other configuration.
- An API Start Trigger will be already in the flow; this can be ignored if you plan to use other Trigger types.
Sample card
- Choose Sample card if you're new to Atomic Action Flows, or want the convenience of starting with an Action Flow that already has one 'Send a card' step and a basic card template setup and ready for you to modify.
Clone an Action Flow
- If you (or other team members) have already created Action Flows, you can choose to clone one as the starting point for your new flow.
Consider making a collection of Action Flows and adding them to a folder named Templates for anyone in your team to clone, saving time and showing them any patterns you would like them to follow.
Clone a legacy card
If you were an Atomic customer before Action Flows was released, you'll see a fourth option.
- If you want to make a copy of a legacy card, to try it out in the new Action Flow editor, use this option. Please note: If you are looking for a way to migrate a legacy card, without making a new copy (so that your existing integrations, settings and version history are preserved), don't use this option, instead follow the Action Flow migration guide
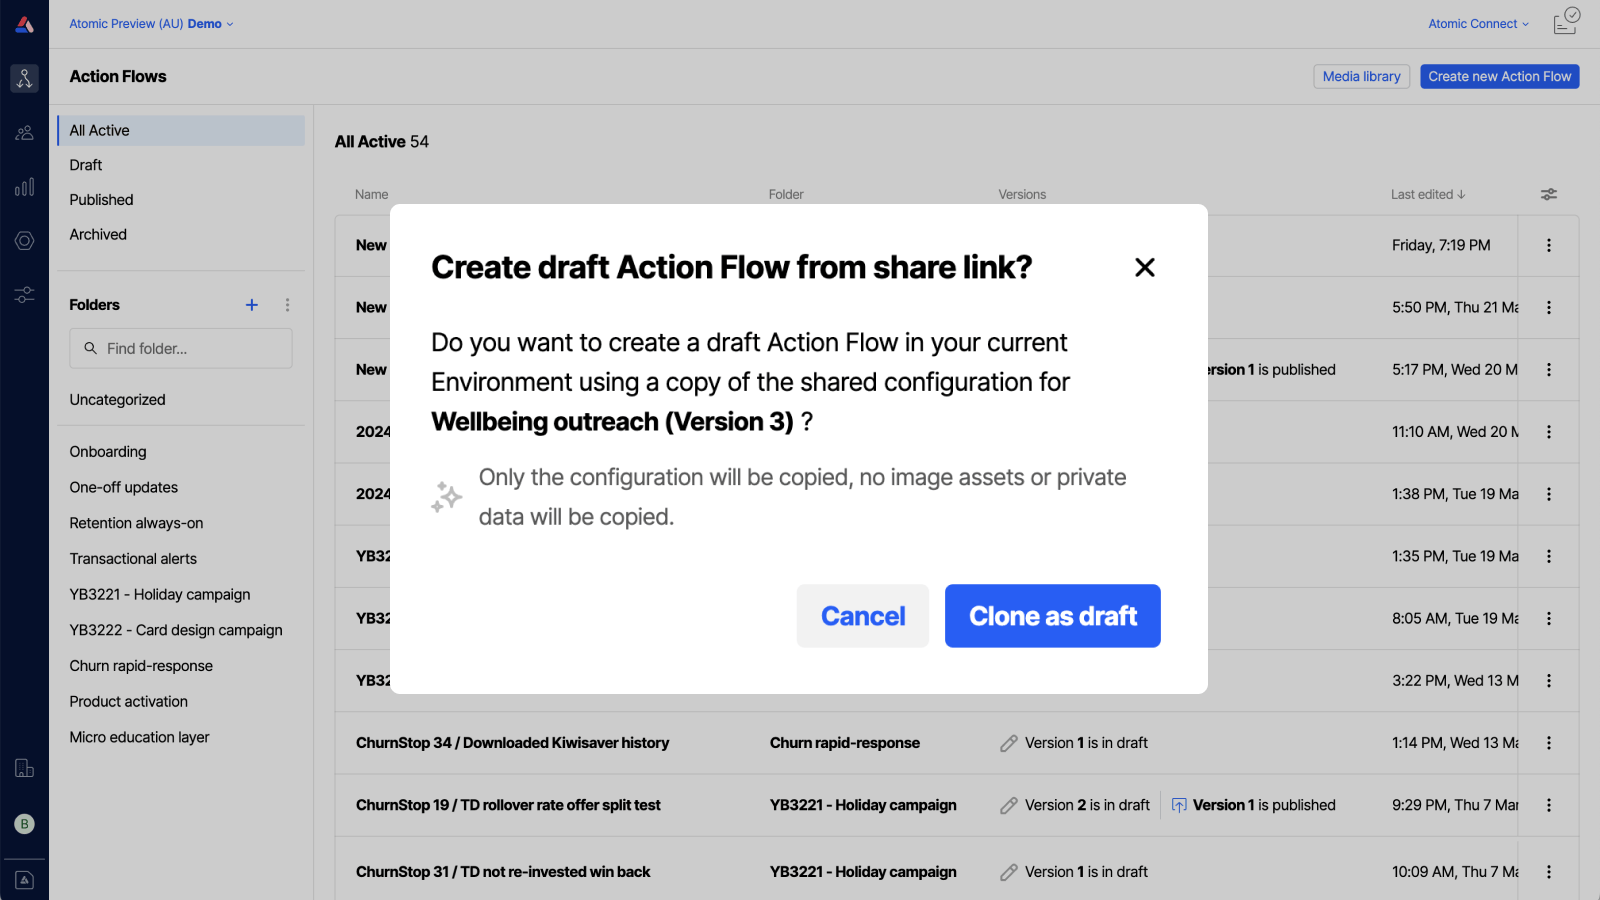
Create an Action Flow using a share-link
If you've been provided with a share-link for an Action Flow created in a different environment to the one you're working on, you can use that link to make a copy of that Action Flow into your current environment. Share-links are designed to help members of the Atomic community share their use cases and ideas and to enable easy sharing of flows back and forth with Atomic's customer success team in a safe way.
- Share-links will not copy triggers, sensitive data or uploaded media assets.
- Share-links may have been disabled for your current environment, if so, you won't see an option to copy share-links in the menu, and existing share-links from your environment will no longer work.
👇 Using and creating share-links. Swipe or click through to read.

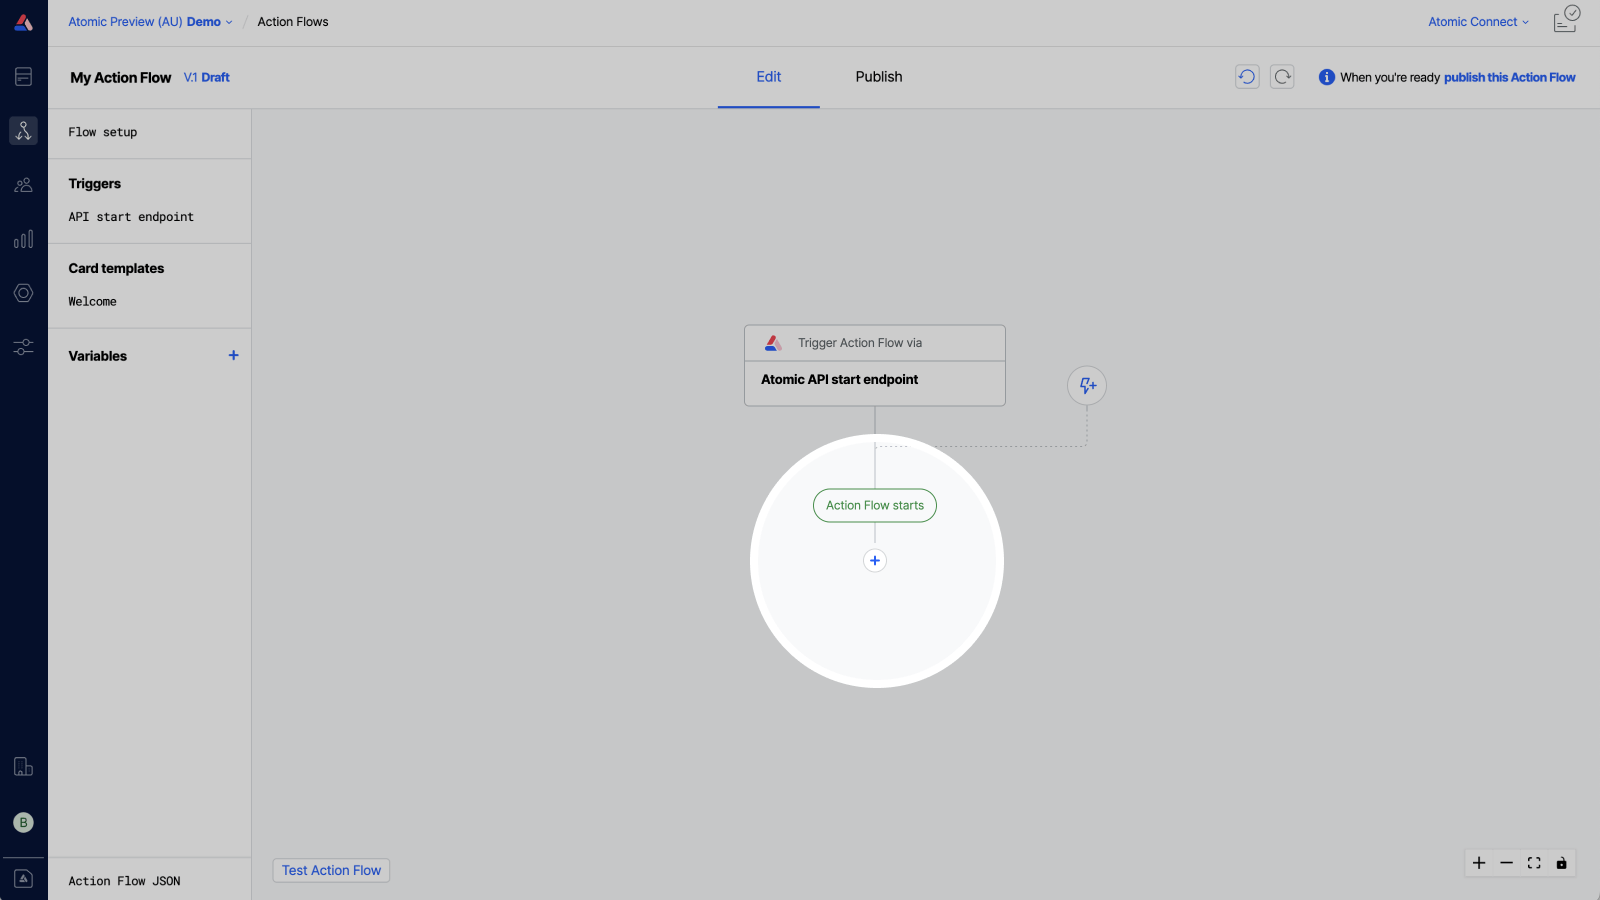
Configure your Action Flow
Every Action Flow needs two things
- One or more triggers to start the flow
- At least one step to run after the flow starts
1. Decide what will trigger your Action Flow
If you want to trigger your Action Flow using a method other than an API request, click the Add trigger button beside the default API trigger and add a new way to trigger your Action Flow.
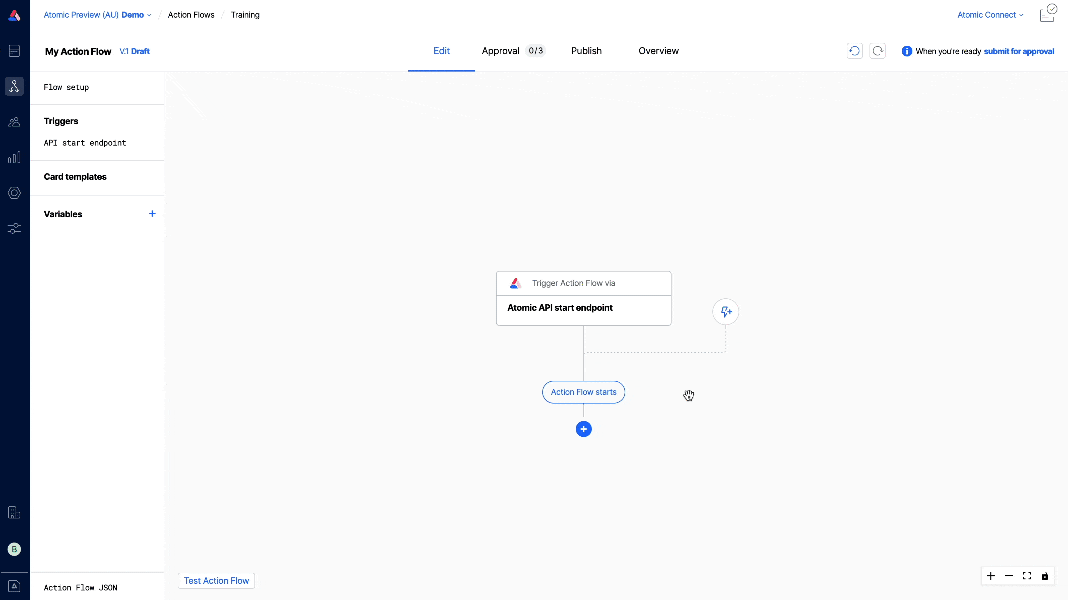
Click the Add trigger button beside the default API trigger to add a new way to trigger your Action Flow
Triggers can include:
- API requests you organise to send to the unique endpoint created for each Action Flow
- Webhook requests sent by your 3rd party cloud systems
- Events sent to Atomic via integrations you've enabled for Salesforce Marketing Cloud or Adobe Marketo Engage
- Events you want to watch for in the Atomic platform, such as customers entering or existing Segments (which can be driven by changes to customer profiles, system events or real time customer activity and in-app behavior)
- You can also manually trigger Action Flows from the Customers dashboard, or by uploading batch files.
Read the full article explaining the triggers Atomic supports and how to configure them.
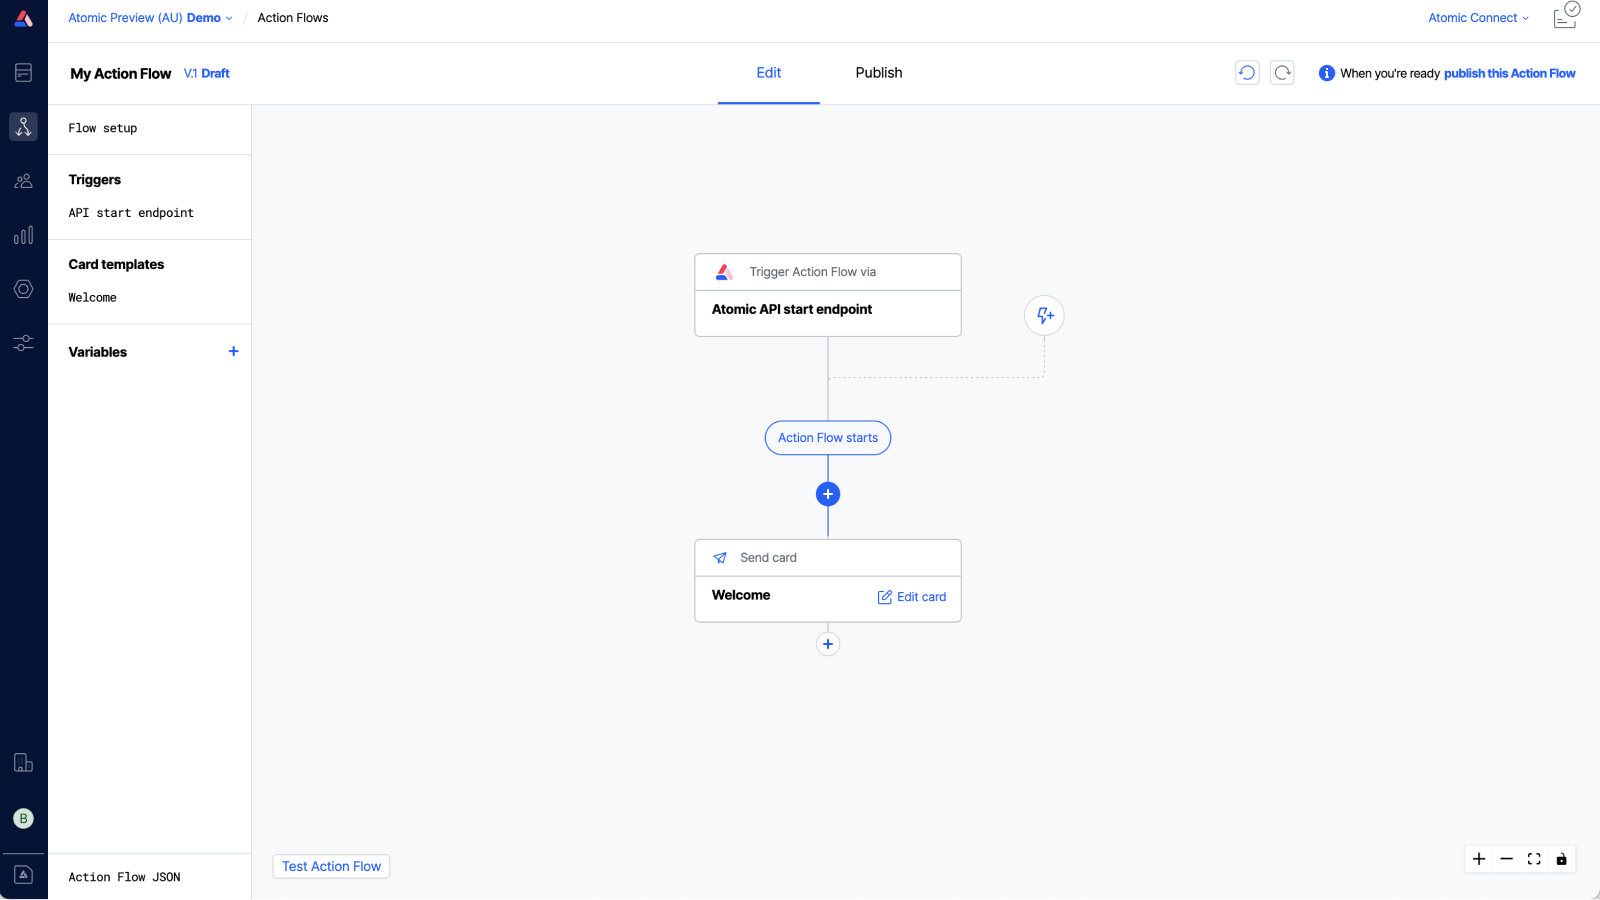
Every new Action Flow is set up with one out of-the-box trigger step that lets you trigger you action flow by sending API requests to your flow's unique URL endpoint. You can ignore it if you don't need it, but it cannot be removed from the configuration.
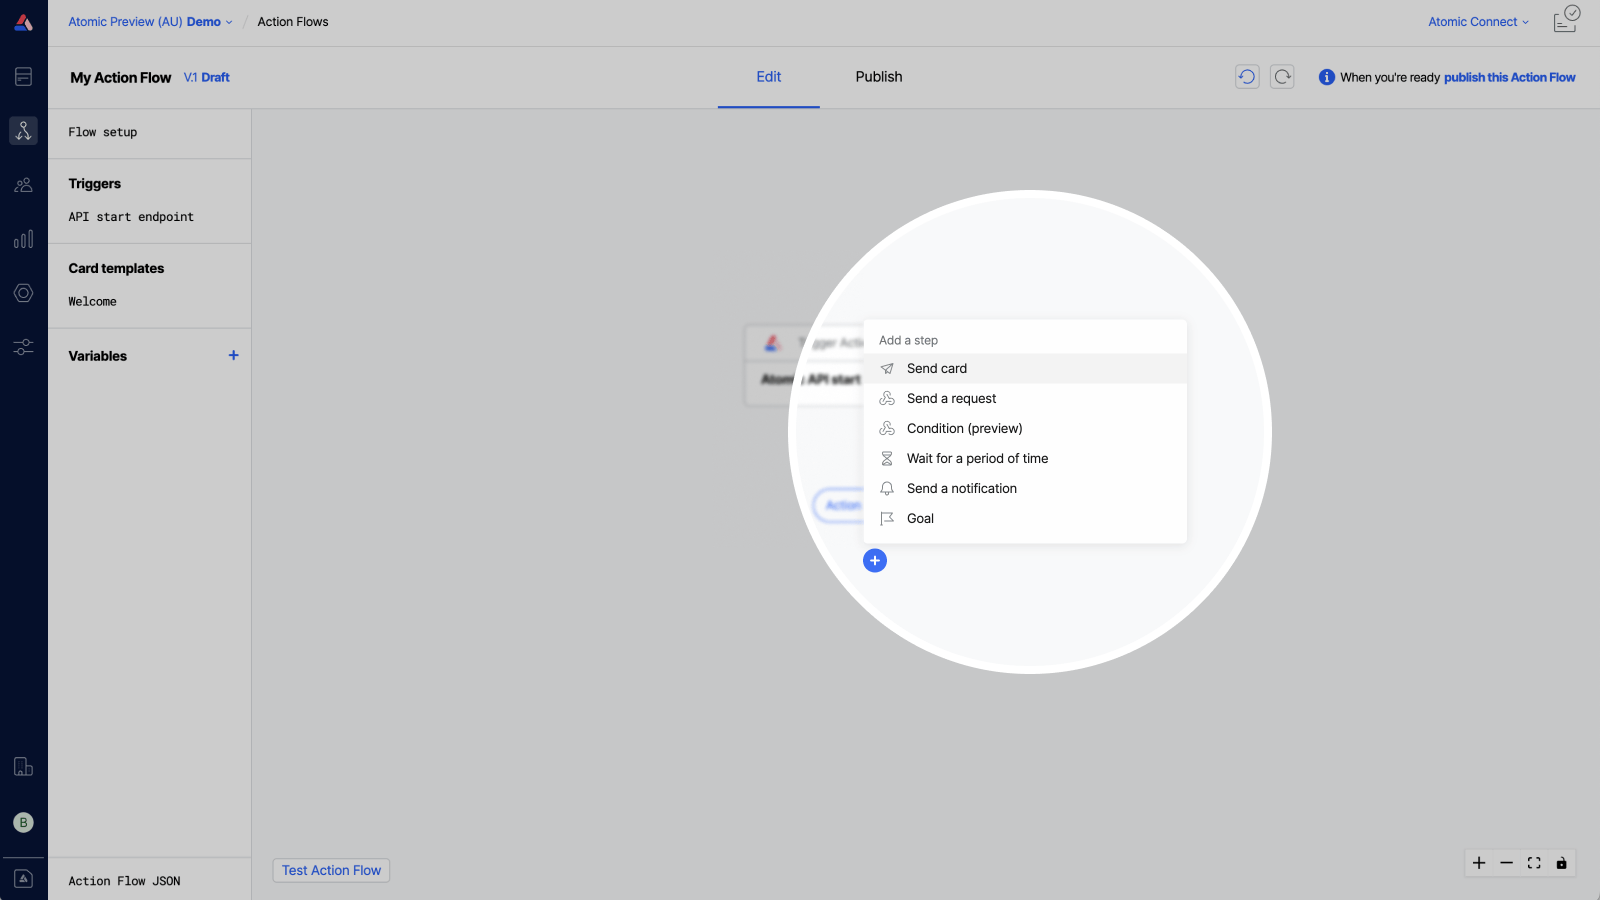
2. Add steps to run after your Action Flow starts
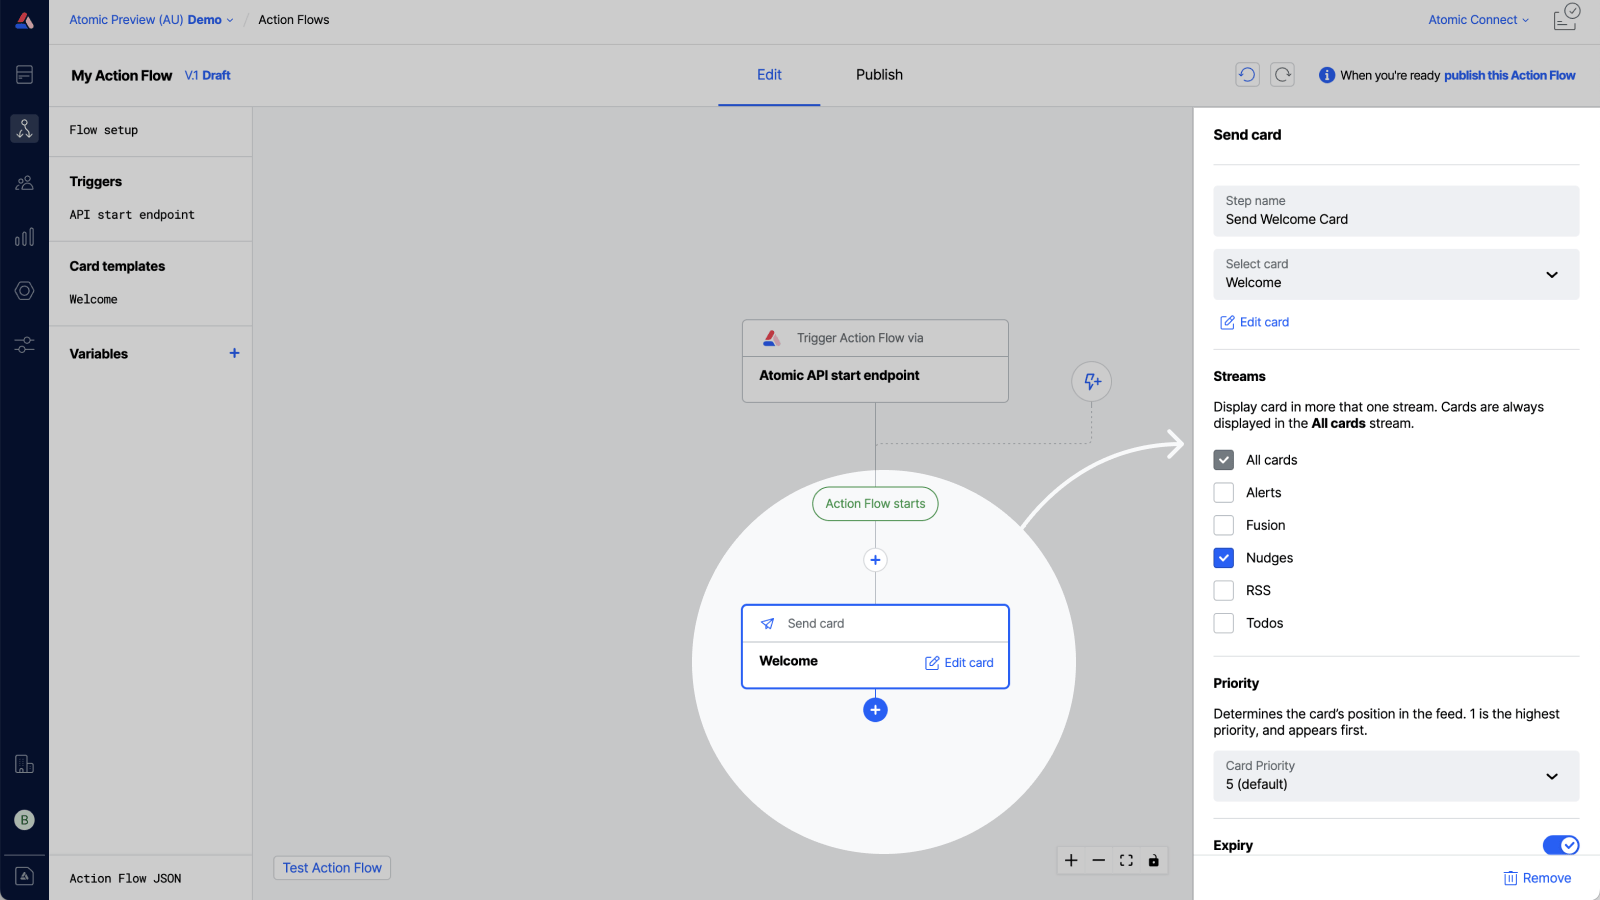
Click the + button below any existing step to create a new step that will run when the parent step has completed.
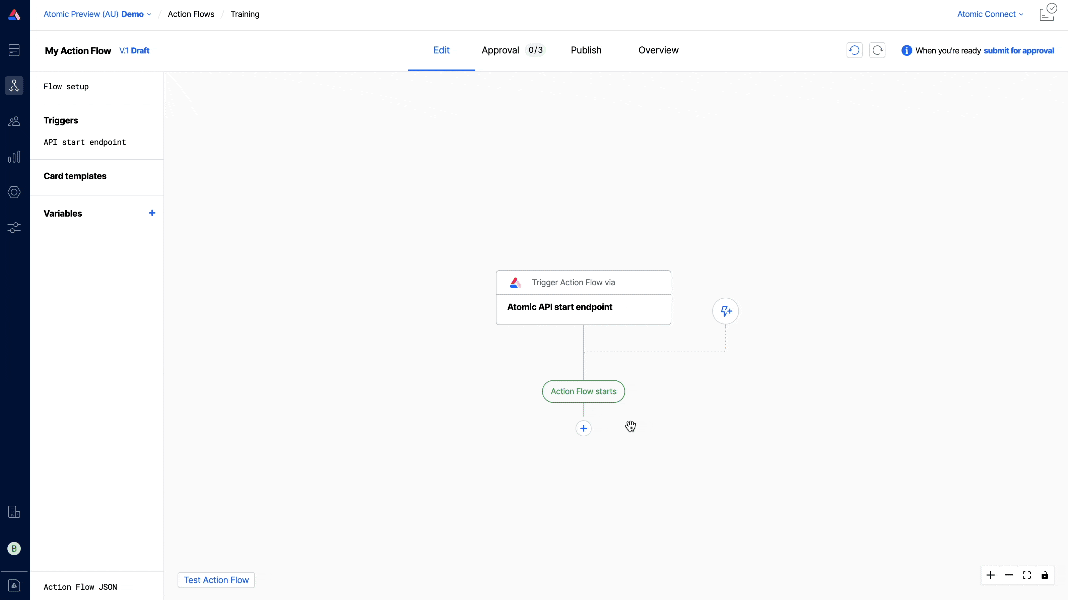
Click the + button below any existing step to create a new step that will run when the parent step has completed
An Action Flow may have only one step, for example, a step to send a card, or perhaps a step just to send a push notification.
More advanced Action Flows can contain multiple steps. For example they might wait for user interaction after sending a card, or wait for a period of time before sending another card, or they may interact with external APIs, evaluate conditions and more.
Read the Action Flow Steps guide to learn about each step type and how they can be used.
You can also check out the Action Flows best practices article for guidance about how to get the most out of Action Flows, and avoid known limitations.
Any Action Flow step can access the data from the steps connected above it, as well as profile data of the end-user it relates to. It can then use this data to personalize the flow, content, form inputs, and even personalize the pathways users are presented with. This data used within an Action Flow is known as context. Steps in your flow can use, then add to context as flow steps are completed. Steps such as Send a request, can even pass context data out to third-party systems using API requests. Read the Context reference to learn more about how data is used within Action Flows.
3. Configure your card templates
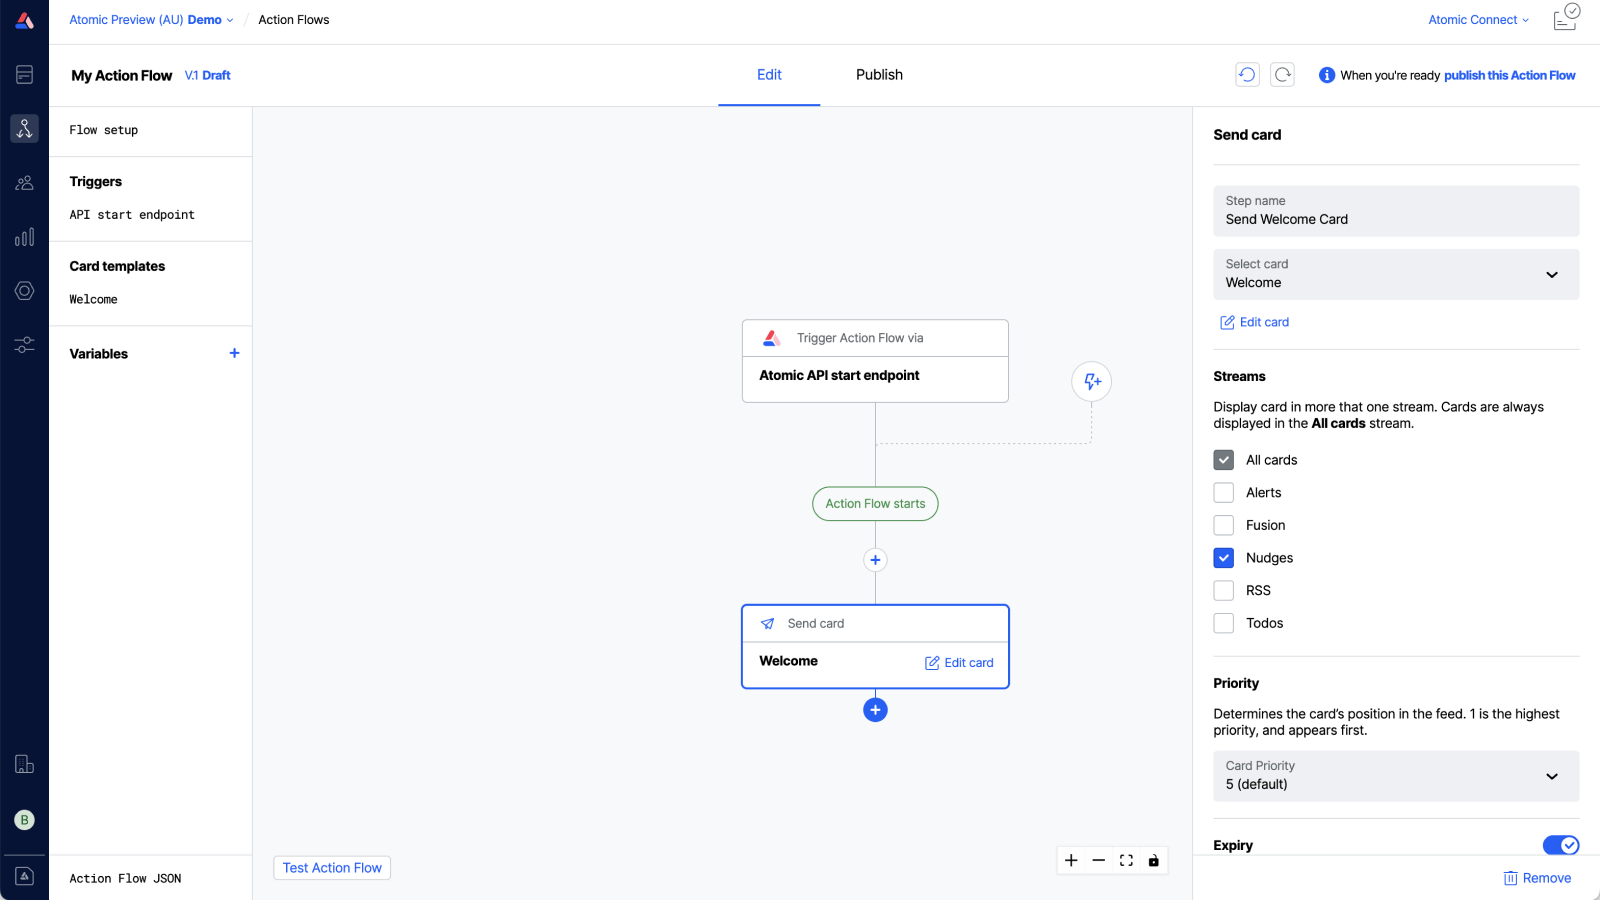
One of the steps you'll use most often is the Send a card step. When you add a 'Send a card' step to your flow a blank action card template is automatically created and linked to that step.
Click the + button below any existing step to create a new step that will run when the parent step has completed
There are two main things to configure when sending a card: delivery rules and the card template itself.
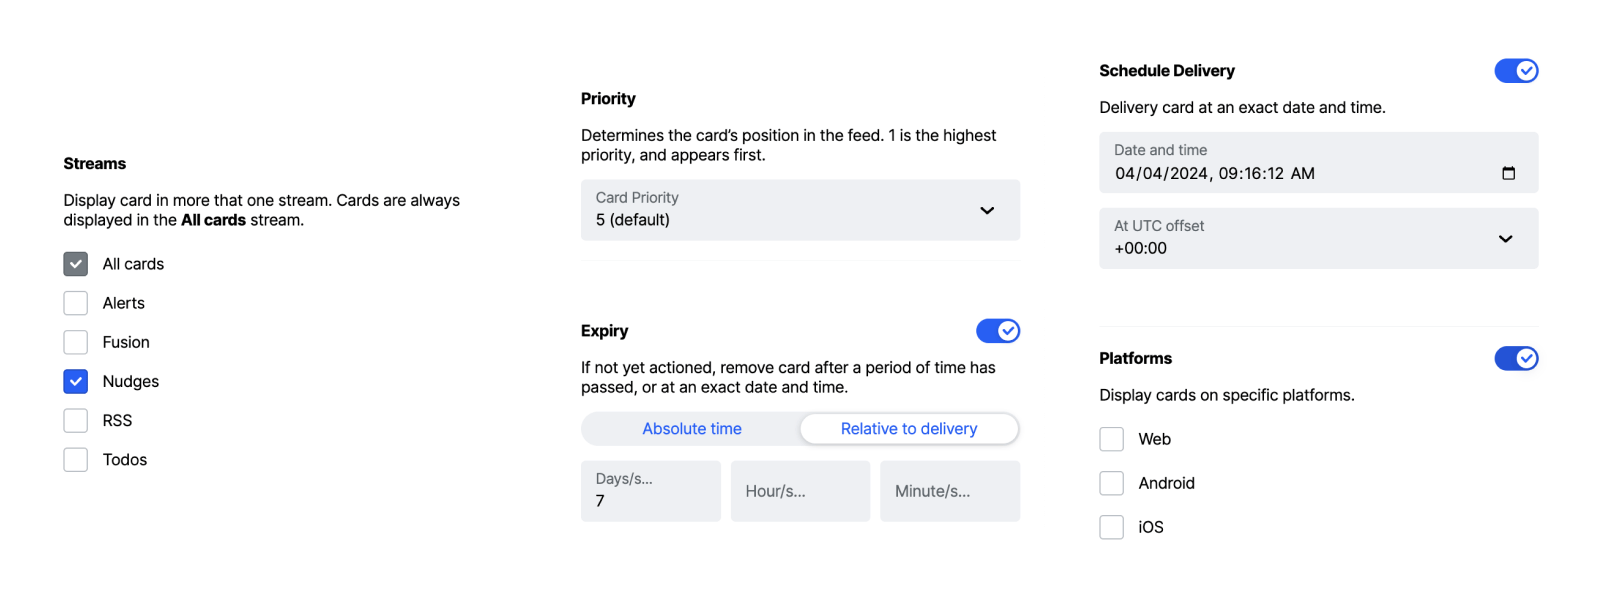
Card delivery rules
When your Action Flow is started and reaches a Send a card step, it will look for any delivery settings you've configured, and use them when creating a card instance from the template.
To see/change the delivery settings for a particular Send a card step, click on the step from the Action Flow canvas. A properties panel will appear on the right side.
Delivery rules are discussed in more detail over in the designing cards article.
Card templates
All card templates used in your Action Flow will be listed in the left menu, you can click their names to open them in the card editor, or with a Send a card step selected on the canvas, click Edit card. You can get back up to the Action Flow canvas by clicking Flow setup in the left side menu.
Read the designing cards article for more information about what's possible when creating cards. You can also read the context reference to learn about what data you can use to personalize your cards and how that data can be used elsewhere in your action flow.
Card templates are part of your Action Flow. You can have more than one Send a card step use the same template, but if you want to share a card template to a different Action Flow, you will need to clone the Action Flow. This is because card templates often contain placeholders for dynamic content which are uniquely tied to the current action flow.
Test and publish your Action Flow
This article has covered the basic steps to create an Action Flow and add triggers and steps.
Ready to test?
From here your next step may be to test your action flow. Read the testing article to learn how you can quickly and safely test your flow, receive and interact with test cards and push notifications via the Atomic Connect demo apps.
Ready to publish your draft?
When you start working on a new Action Flow, you're working in the Version 1 Draft. When you publish the Action Flow (which you must, in order to start live Action Flows) Atomic will change Version 1 to Published. Read the publishing article to learn how publishing in Atomic works.
If you plan to enable Atomic's approvals feature, which adds an an additional step requiring formal approvals via the Workbench before drafts can be published, check out the approvals article.