Marketo Self Service Flow
Marketo Self Service Flow is a premium feature. Please contact us to have this feature enabled in your organization.
For the Marketo Self Service Flow connector you first need to setup an integration provider, then configure a card to use the connector. This is similar to other types of connectors.
The difference to other connectors is that you will be able to be provided a list of configured Cards/Action Flows in the Marketo Flow Step Builder.
A Marketo Self Service Flow connector is specific to an Atomic Workbench environment.
Workbench Setup
This section outlines what is needed in the Atomic platform to use a Marketo Self Service Flow connector.
Adding new Marketo integration provider
At least one Marketo integration provider needs to be created before you can configure a card to use the connector
- Login to your Workbench environment
- Navigate to Configuration > Integrations > Marketo
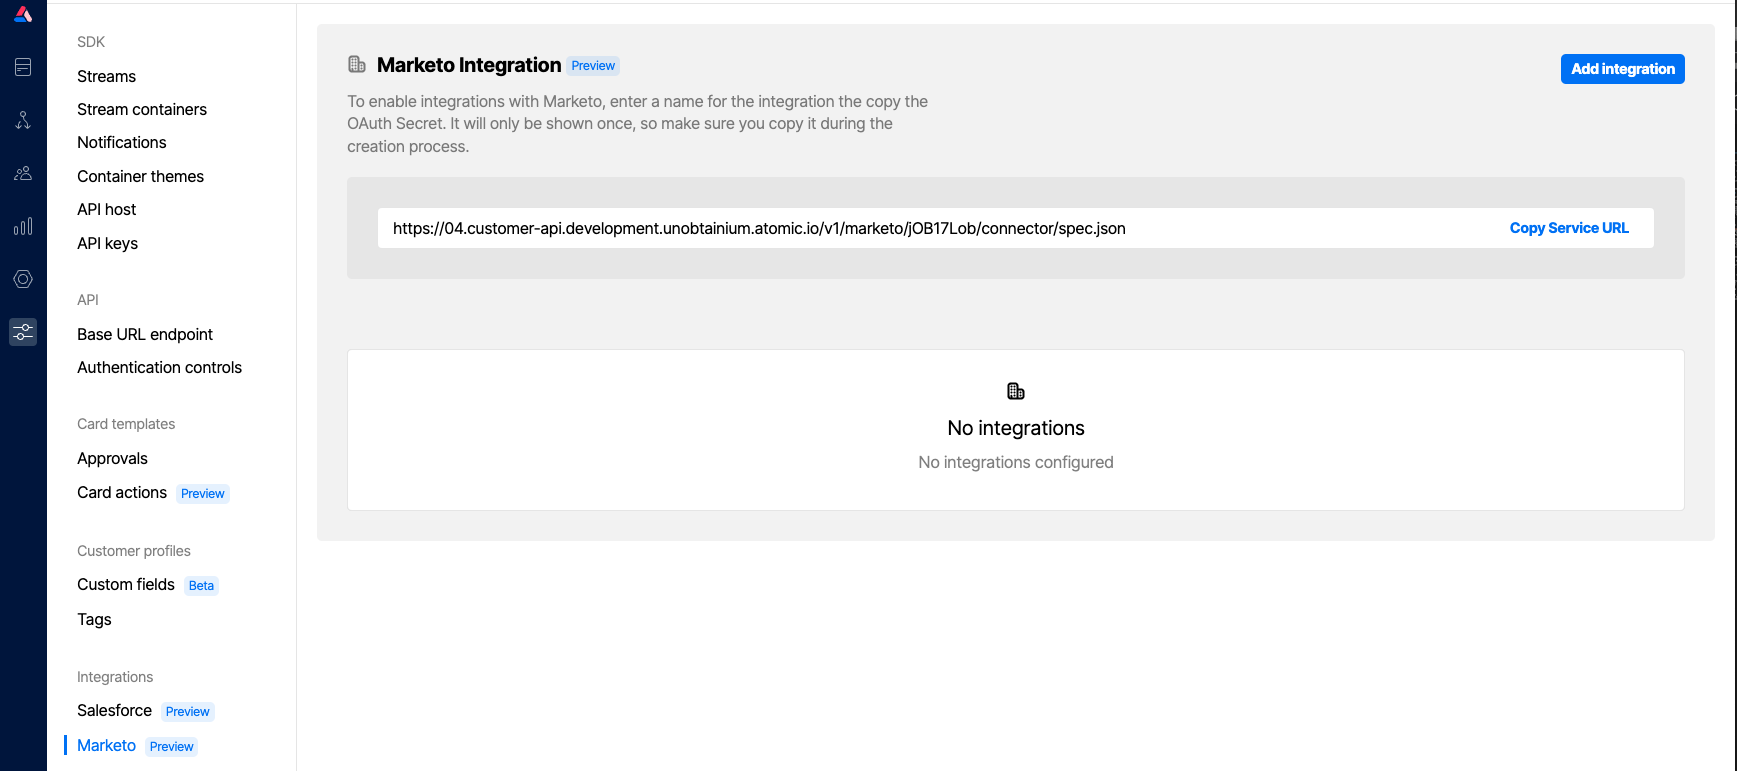
- Click
Add integration

- Give the integration a name, and click
Save - Once presented with the Connector credentials, note the Client ID as this will become the API authentication token. You can come back and view the details of the integration to get the Client ID again. NOTE: For now you can discard the Secret. An issue with Marketo means we have to use API Token authentication over OAuth. You may be required to create new integration in the future to switch to OAuth authentication
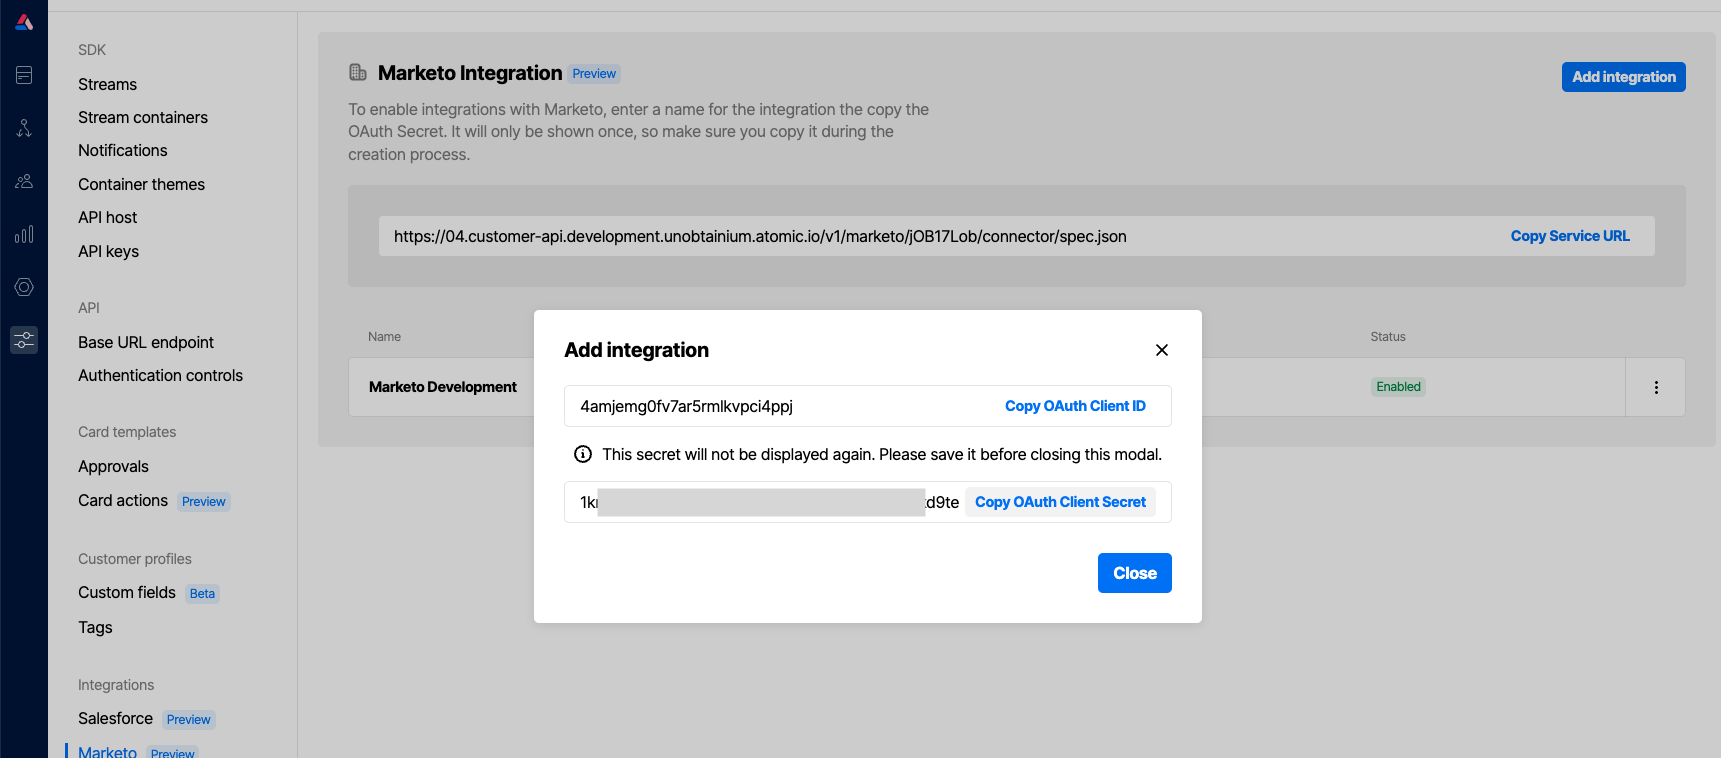
- After closing the modal, from the integration list view, also record the Service URL. This will be the URL you need to create a new Marketo Service Provider.

Connecting with an Action Flow
This section must be completed once for each Action Flow you wish to trigger from Marketo. In the Workbench, open the Action Flow you wish to send from Marketo.
- At the top of the Action Flow editor graph, choose to add a new trigger.
- Choose
Adobe Marketo Engage. - Optionally give it a name.
- Set the trigger mode. By default this is "test" and so the Action Flow will not trigger for live users. When you are ready to go live with the Action Flow, change this to "live".
Marketo Setup
This section outlines what is needed in the Marketo platform to trigger the Atomic platform
Marketo Service Provider
A Marketo Service Provider defines the link from Marketo to the Atomic Platform. It is what allows you to view a list of configured Cards to use in Marketo
- Navigate to Admin > Integration > Service Providers.
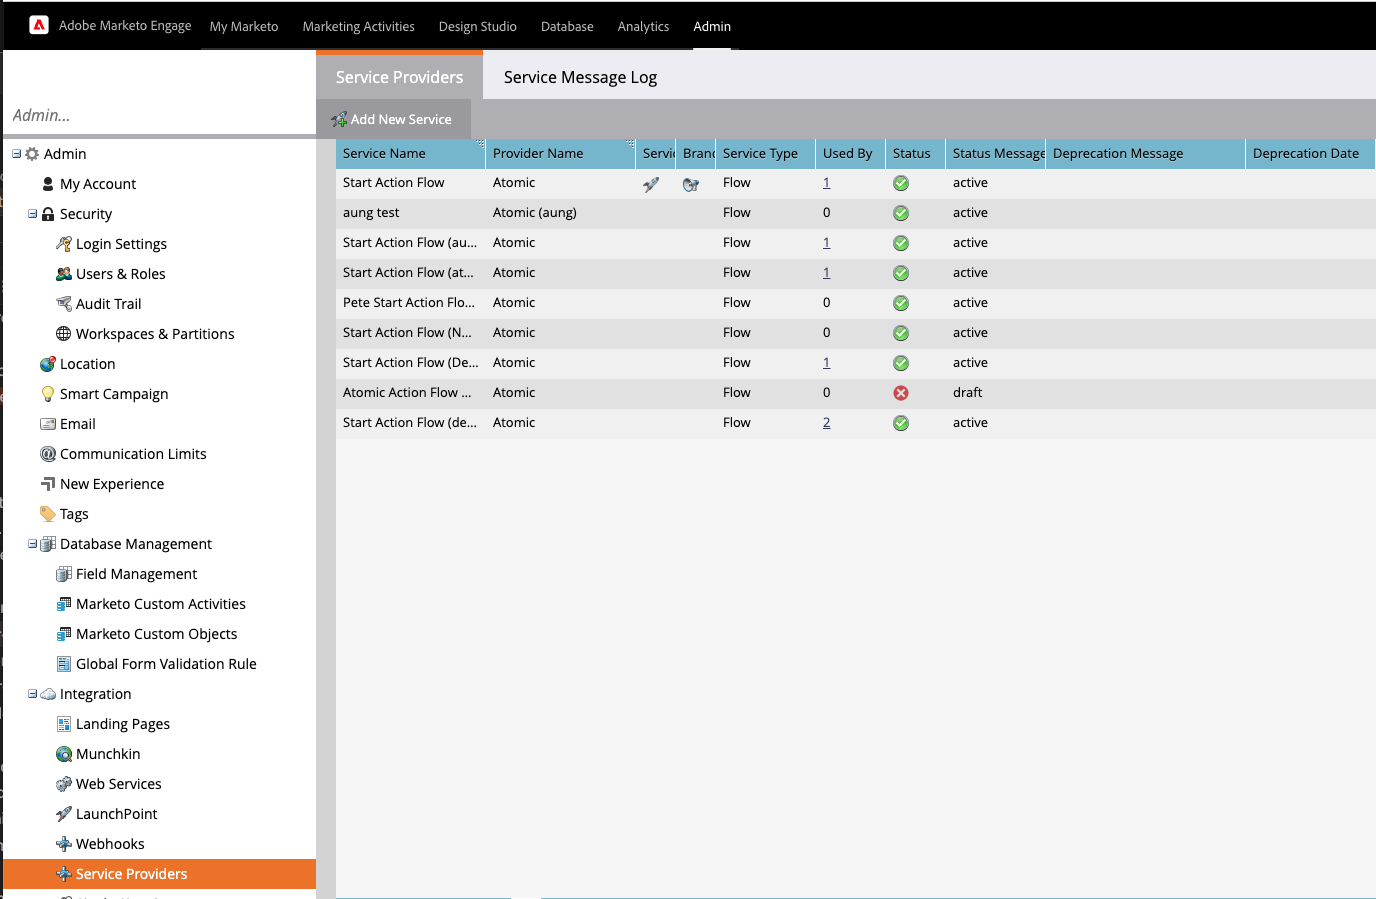
-
Click Add New Service.
-
Enter Service Provider URL. This can be copied from the relevant Marketo Integration configured in the Workbench configuration, as outlined in the Workbench section above.
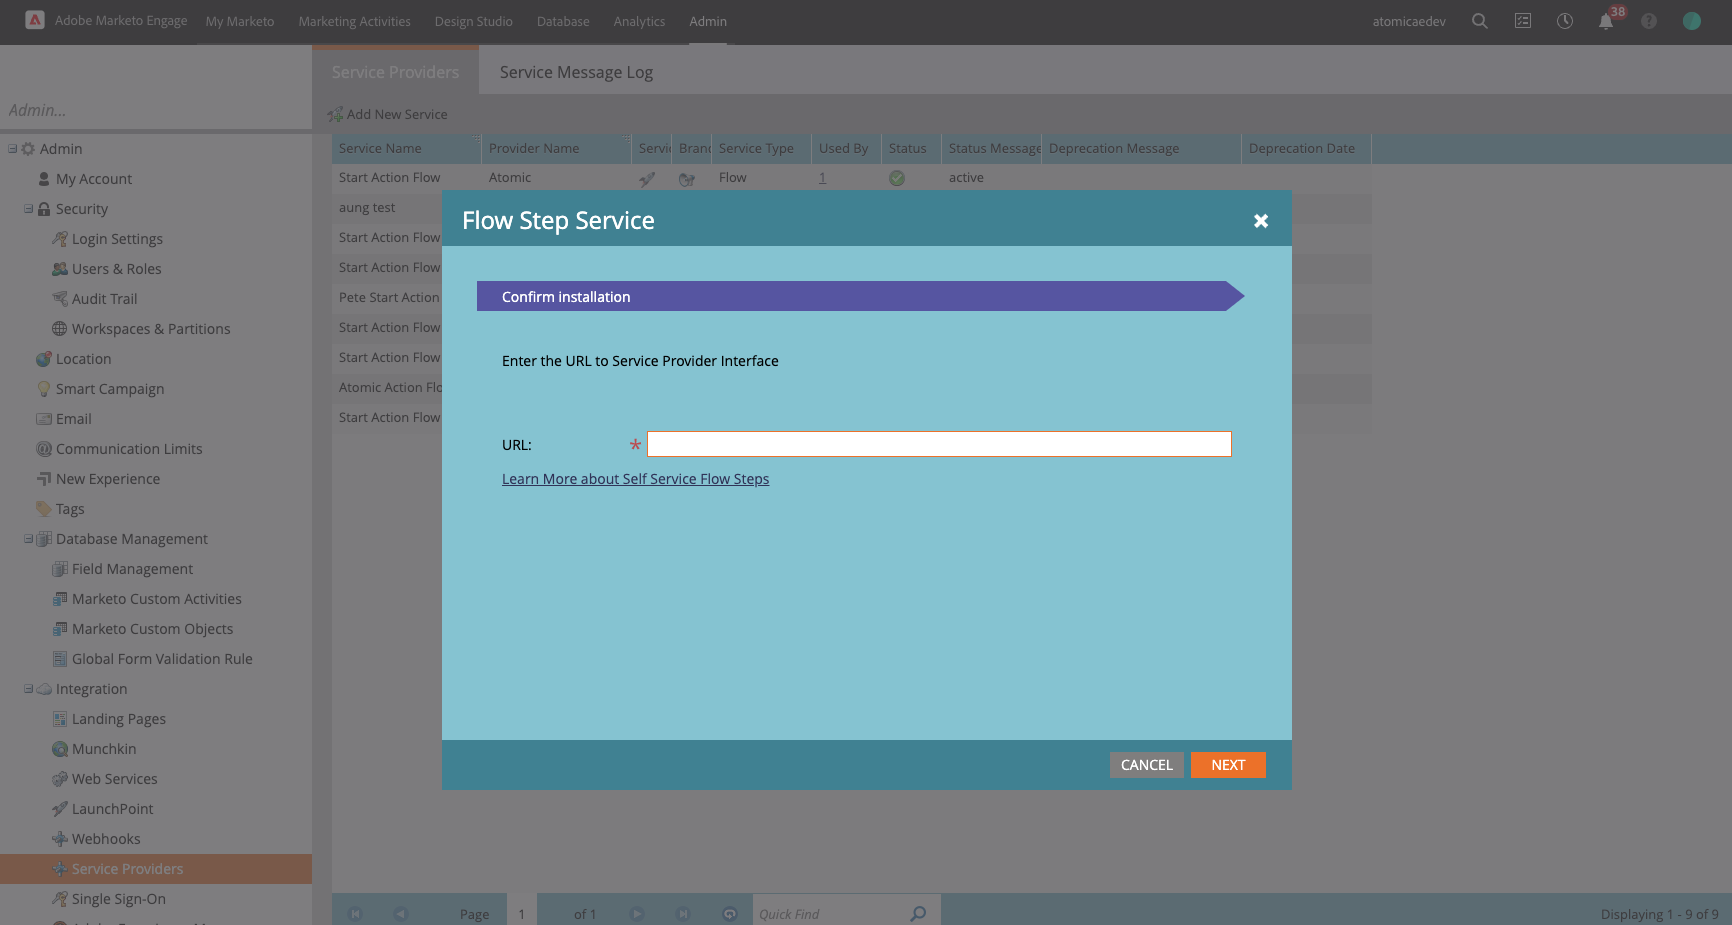
Add a new Flow Step service -
Click Next.
-
When prompted, use the Client ID from the relevant Marketo Integration configured in the Workbench configuration, as outlined in the Workbench section above.
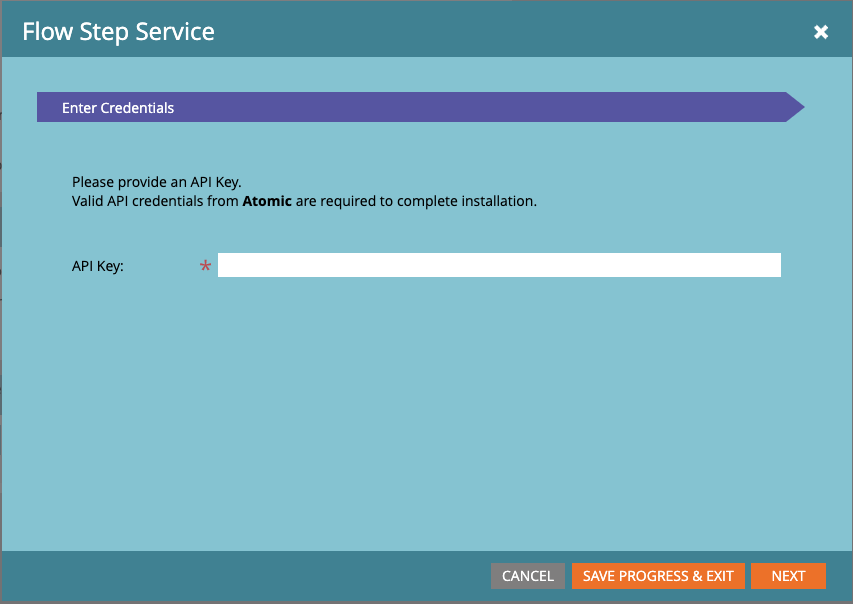
Paste in the Client Id from the earlier configuration -
If a Service Provider with the same name already exists, you will be prompted to rename this Service Provider. Rename as appropriate.
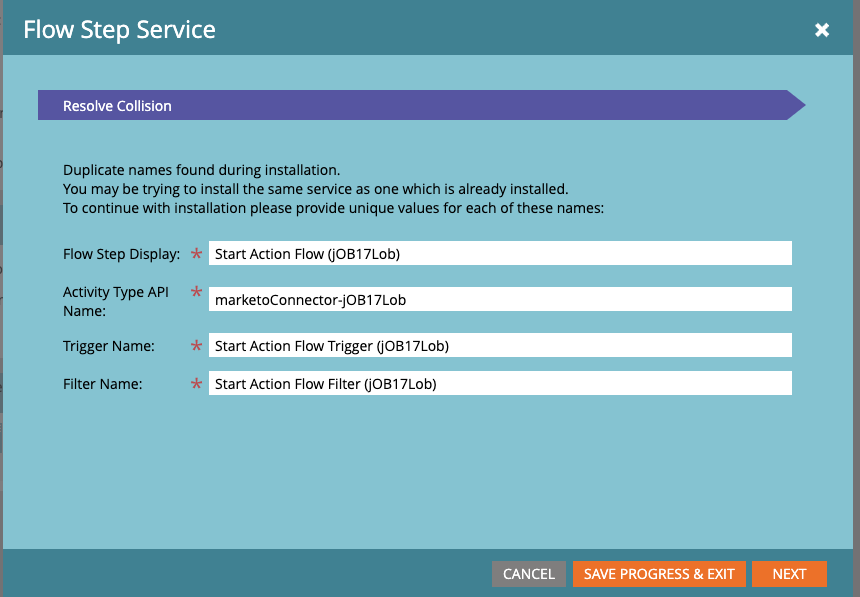
Resolve any naming collisions, if prompted -
Add Outgoing Field Mappings you want passed on each invocation of the Marketo Flow Step.
- One of
atomicIdorcustomerId(required) - atomicId or customerId is a required mapping as this will link to an existing end user in the Atomic Platform.
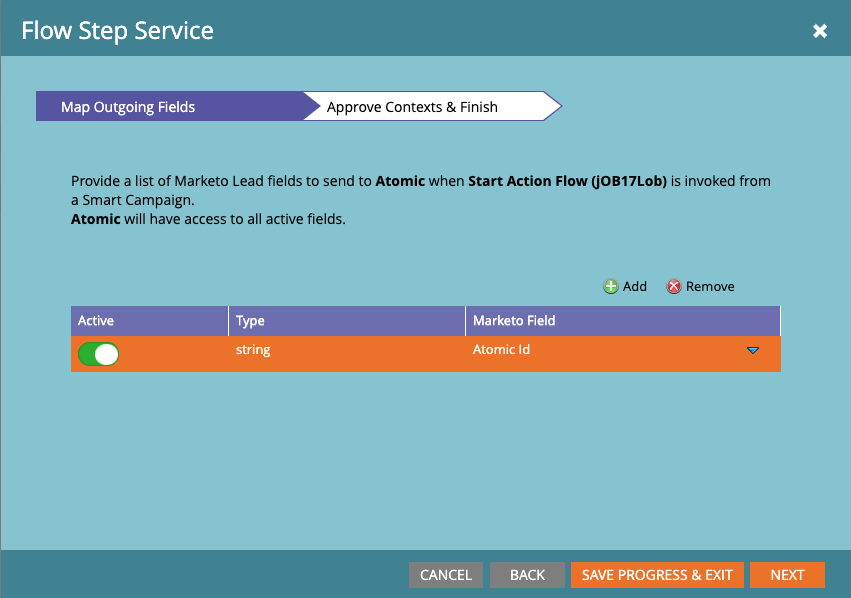
Add fields to include in every outgoing request to Atomic - One of
-
Click next, then Save to finish the setup.
Marketo Flow Step
For a campaign in Marketo you can configure to use the Service Provider Flow Step
- Open (or create) a campaign.
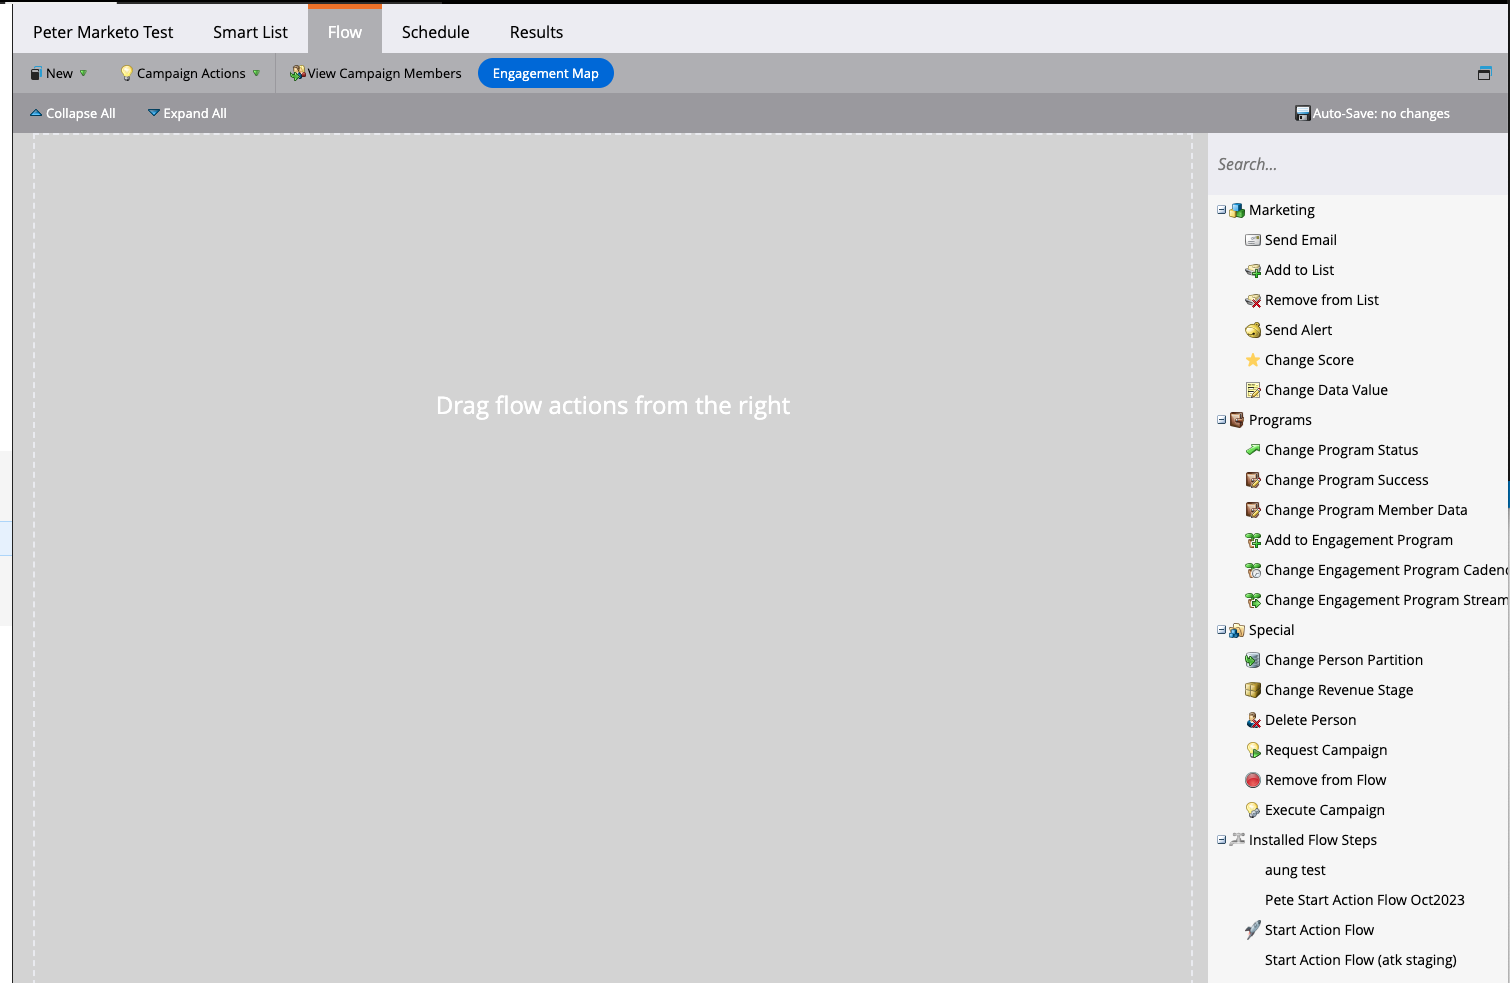
Create or open a canpaign in Marketo - From the right-hand menu, scroll to
Installed Flow Steps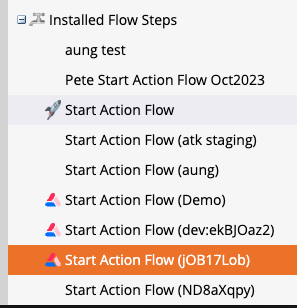
Scroll in the right-side panel to locate your flow step - Select the Flow Step that relates to the environment added in the previous section
- The Flow Steps should appear with the Atomic logo and named with the linked Atomic Workbench environment,
Trigger Action Flow (YOUR_ENVIRONMENT)
- The Flow Steps should appear with the Atomic logo and named with the linked Atomic Workbench environment,
- From the Action flow dropdown list select the Card you want to send.
- In the additional variables input, you can provide JSON payload for extra mapped attribute that are not already passed through globally with the Service Provider configuration.
- For example, you can pass dynamic lead values or static text
{"lastName": "{{lead.lastName}}", "message": "static text"}

On a case-by-case basis you can send additional data variables to Atomic - See note below about default variables.
- For example, you can pass dynamic lead values or static text
The Marketo Flow is now ready to execute.
Default Action Flow variables
Some default variables are provided to the Action Flow which can be accessed in Action Flow steps.
| Variable | Description |
|---|---|
| marketoLeadId | The identifier of the marketo user. This can be used to send requests to Marketo to update a user after they action a card. |
| marketoAtomicId | The atomicId property in Marketo. This is the same as the Atomic customer Id. |