Set up single sign-on (SSO) to the Workbench
Atomic supports Workbench members logging in using either an email and password, or Single sign-on (SSO).
You can use single sign-on using SAML (such as through Microsoft Entra ID or Google Workspaces) to authenticate and authorize Atomic Workbench members.
Workbench members are identified within Atomic by a unique email address, supplied by your authentication provider, as part of the authentication flow.
SAML
To use SAML SSO with Atomic, you'll need to set up a custom SAML application in your authentication provider, which includes the user’s email address in an attribute.
-
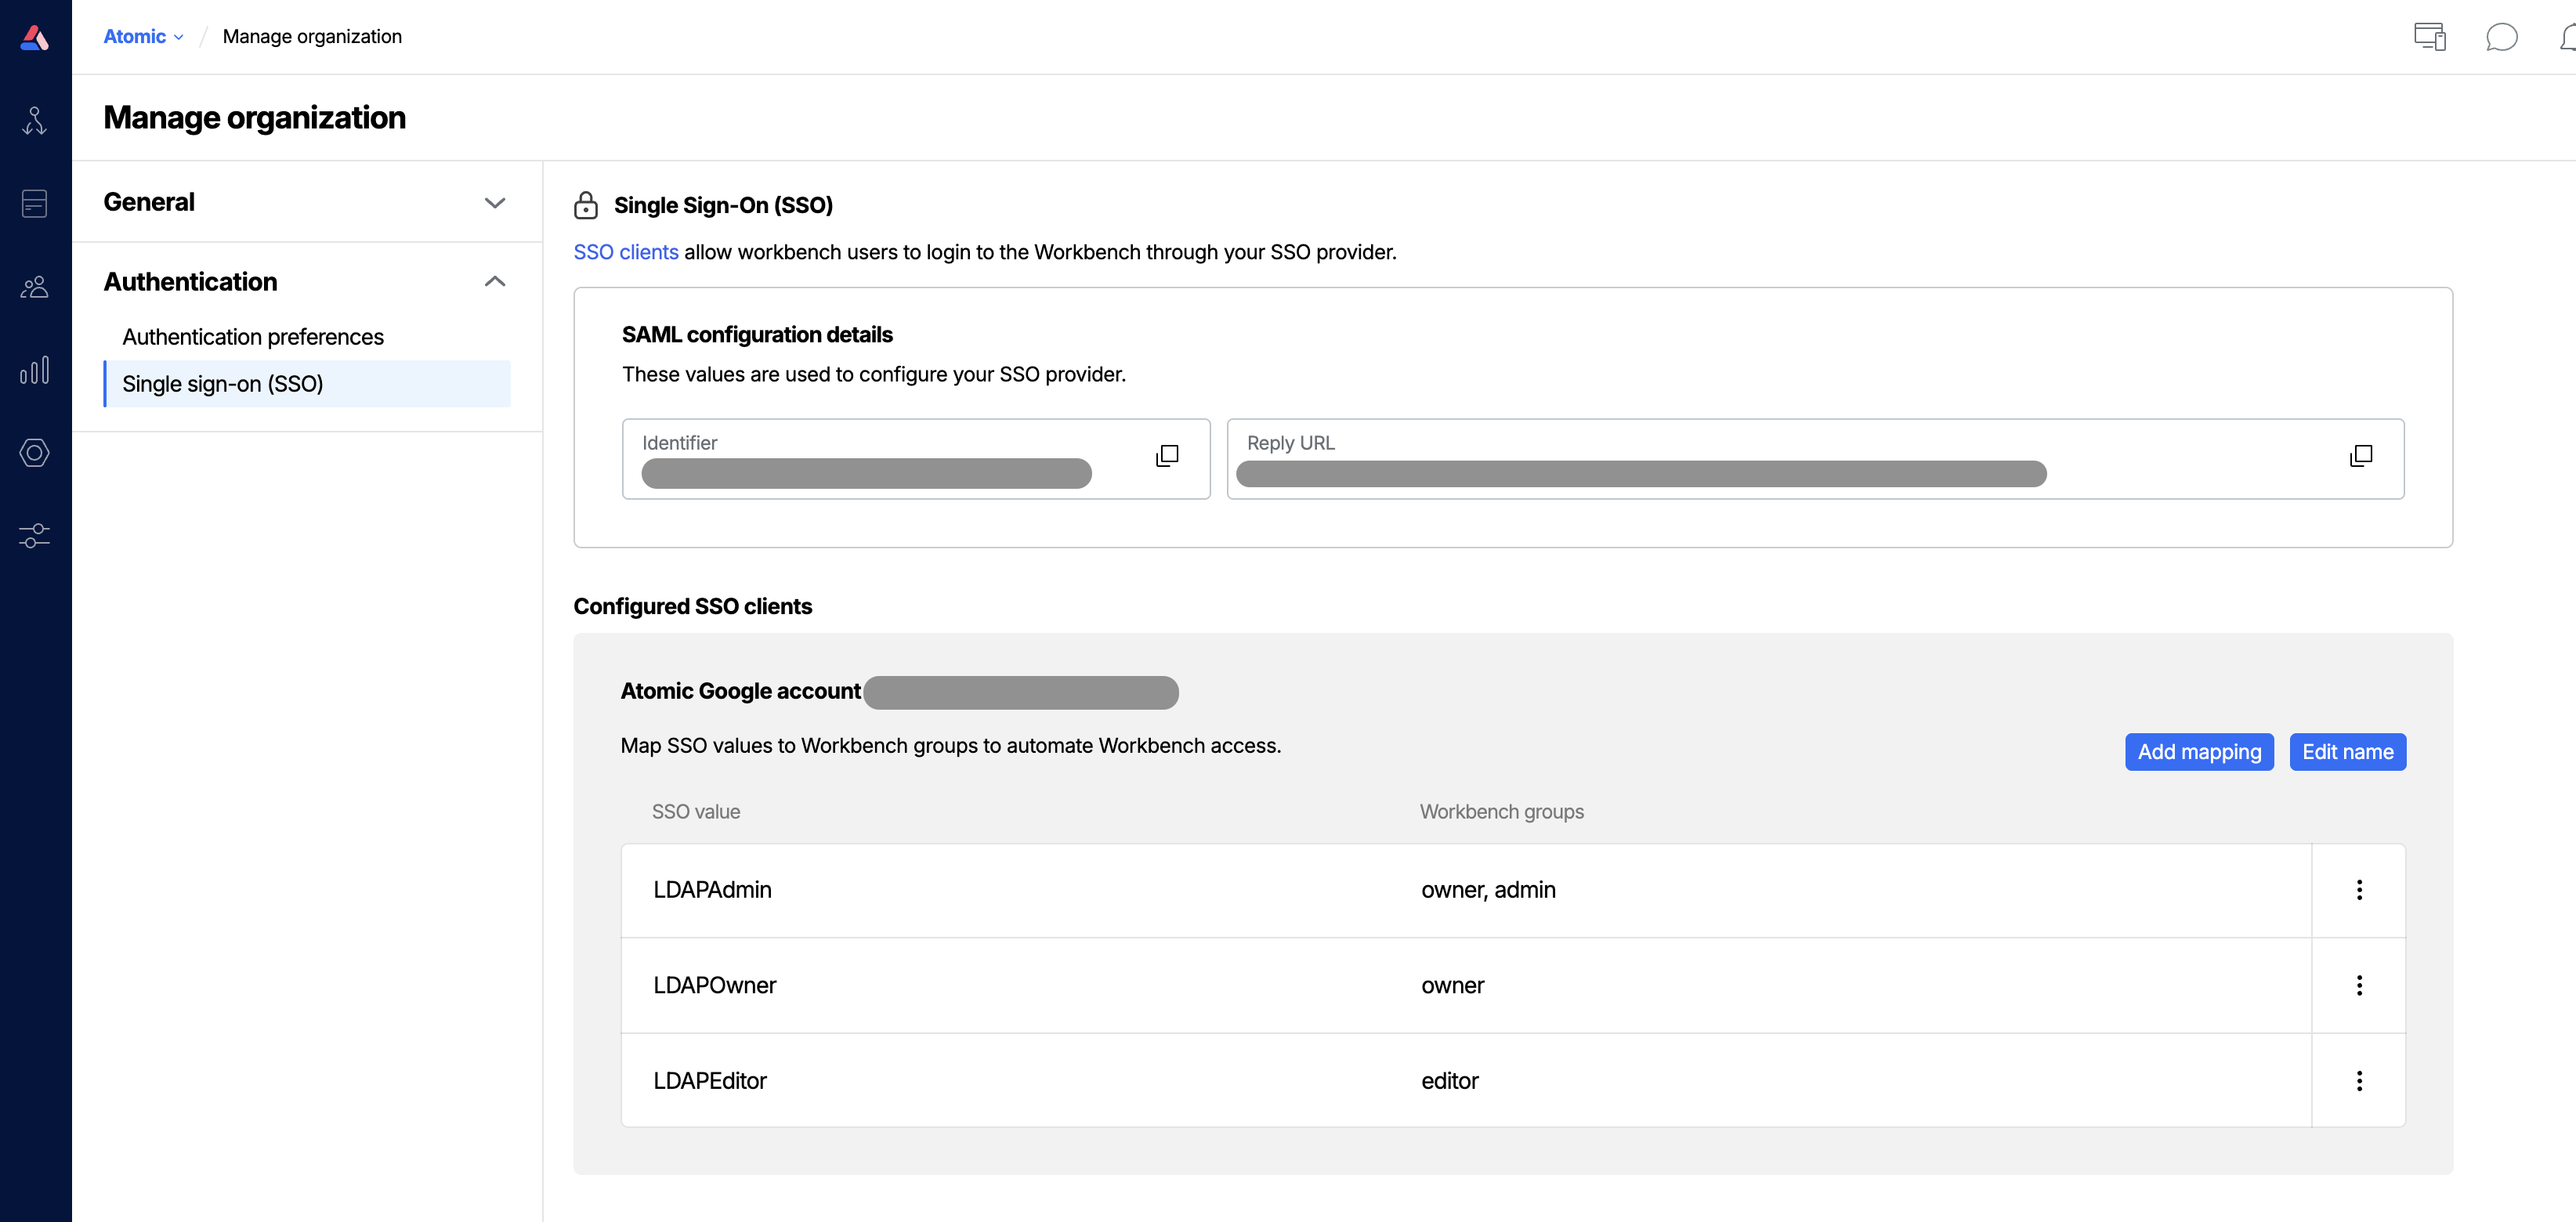
Configure your auth provider using the Atomic SAML configuration details. The details can be found in the workbench at
Manage Org > Single sign on > SAML configuration details. -
Once you have configured your SAML application, contact Atomic with the following:
- The name of your auth provider / service (e.g. Microsoft Entra ID, Auth0).
- The IdP metadata XML file for the SAML application
- The name of the SAML attribute which contains the user's email. (For example
http://schemas.xmlsoap.org/ws/2005/05/identity/claims/emailaddress)- Note: the user's email should be provided in lowercase
- Optionally, the attribute name to assign an SSO user to a Workbench Group.
Once we have these details, we'll configure our system.
- Next we'll confirm the configuration with a verified contact at your organization before enabling SSO. Once enabled, your users can choose to login with SSO from the Workbench login screen, enter your organization id, and authentication will be delegated to your provider. If specified, we'll also disable the regular username/password workbench login flow.
Note: a unique email address must be provided as a SAML attribute, so that users can be identified within Atomic. When logging in with SSO for the first time, user details will be merged with any existing Workbench account for the same email address.
Entra ID / Azure AD
As above, Contact us for the Identifier (Entity ID) and Reply URL (Assertion Consumer Service URL) details.
Then, set up a new enterprise application in Entra ID:
- Sign in to the Entra ID portal.
- On the left navigation pane, select the Entra ID service.
- Navigate to Enterprise Applications and then select All Applications.
- To add a new application, select New application.
- Select
Create your own application. Enter a name for the application, selectIntegrate any other application you don't find in the gallery (Non-gallery), and then click Create. - Once the application is created, add Users and groups to the application.
- From the navigation pane, go to Single sign-on and click the SAML tile.
- In the SAML-based sign-on page, find the SAML Signing Certificate section and download the Federation Metadata XML.
- Go to Entra ID > Your application > Single Sign-on > Basic SAML Configuration section > Edit
- Confirm email claims match this url:
- Send the Federation Metadata XML file to Atomic (downloaded in step 8) and let us know if the email claims match (what you checked in step 10). Contact us.
- Atomic will then configure the Atomic side and provide a login url where you can test out the integration.
It is your responsibility to monitor for any expiring certificates as part of your SAML integration. When you need to renew your certificate, see Renewing SAML certificates for more information.
Automatically authorizing Workbench users with SSO
It is possible to automatically assign Atomic Workbench groups to users who sign in using SSO.
To do so Atomic requires you to provide an additional attribute in the SAML payload that your application sends to Atomic. Within this attribute you set a piece of metadata which you can then map in the Atomic workbench to the relevant Atomic Workbench groups. You must supply Atomic with the name of the attribute which contains the metadata to map.
After providing Atomic with the name of your metadata attribute, configure your SSO mapping settings in the Atomic Workbench.
Open Organization settings from the sidebar menu by clicking the Organization icon and choosing Organization.
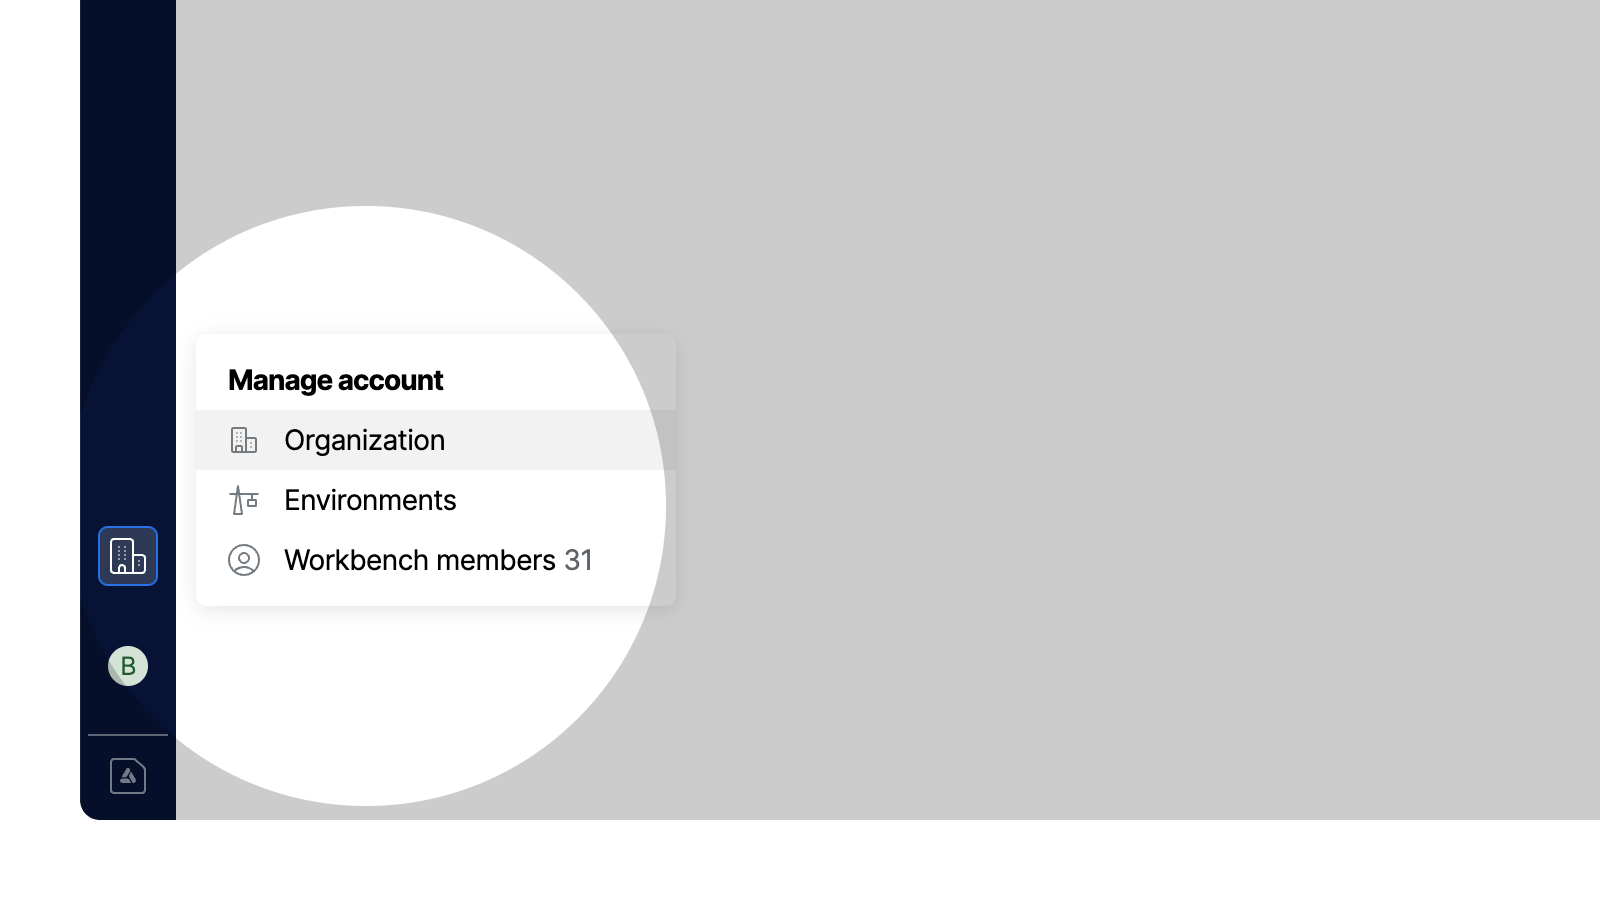
From the Organization settings, choose "Single sign-on". Here you will see settings for your configured SSO client. You can now add a mapping.
Select "Add mapping" and enter the piece of metadata that maps to a given Atomic group(s) and then select the group(s) which should be granted to users when they have that metadata present.
Setting up automatic authorization based on AD groups
In Entra ID from the "SAML-based Sign-on" menu:
- Find your Atomic SSO client.
- Select "Add a new group claim" and choose the "Group Id" as the value.
- In Atomic you can then use this group ID to map an AD group to an Atomic Workbench group.
This will add a new attribute to your SAML payload that is sent to Atomic. This attribute will be under the name http://schemas.microsoft.com/ws/2008/06/identity/claims/groups and contain the ID of the group that is assigned to your AD user.
Logging in directly with an SSO client
Instead of going through the shared Workbench login screen and entering your organization ID, you can use a direct login URL that immediately redirects to your organization's SSO provider.
The URL format is:
https://workbench.atomic.io/login/<app-client-id>
Replace <app-client-id> with the client ID found in the Workbench at Manage > Organization > Authentication > Single Sign On.
You can share this URL with your organization's members so they can sign in directly without needing to know or enter your organization ID.
Renewing SAML certificates
When your current SAML certificate is due to expire, you may need to provision a new certificate within your identity provider. Follow your identity provider documentation for instructions on provisioning a new certificate, or contact us for help.
Once you've provisioned a new certificate, you will need to send us your latest SAML/Federation metadata XML file or URL that contains your new certificate.
Atomic will use this to update your SSO integration so that the new certificate is recognized.
Most identity providers support multiple certificates (such as Microsoft Entra ID or Google Workspaces) allowing the old or new certificate to be used without downtime to users signing in with SSO. Your SAML/Federation metadata XML will contain both of these certificates.
If your identity provider only supports one certificate at a time, a cut-over period may be needed where your users will not be able to sign in until the change has been made on Atomic's end.
If you're unsure whether a cut-over is needed, please contact us first before generating a new certificate.