Configure Push Notifications for a React Native App
This is a step-by-step overview of the organization specific configuration required to enable push notifications on React Native iOS and Android. Some of the specific steps will apply to integrating the native SDKs for those platforms as well.
Required libraries for push notification support on React Native
This guide will not cover integrating the libraries required for push notification support on React Native, instead we start with a template that includes this app level configuration. If you wish to integrate these libraries into a pre-existing app, follow the instructions for each library.
- react-native-push-notification
- react-native-community/push-notification-ios
- react-native-permissions
You may also use alternative libraries, so long as they expose the required device token and push notification callbacks needed to register for and display notifications.
Prerequisites
Before getting started with this guide, make sure you have fulfilled the following requirements:
- Complete the environment setup for the React Native CLI.
- Have an actual iOS device that is set up for development with Xcode and your development team. (Note: Push notifications cannot be tested on a simulator.)
- Have an Android emulator or device setup.
- Admin permission in your Apple developer portal.
- Access to the workbench.
- A valid JWT token with the public key added to the workbench. Refer to authentication in the documentation for more information.
Bootstrap your app
To get started, we will use a template to bootstrap our app. In this tutorial, we will use MyAtomicApp as the name of our app. You can choose your app name, but be aware that it can be difficult to change later on, so choose carefully.
To create your new app with the provided template, run the following command in your terminal:
npx react-native init MyAtomicApp --template "atomic-app/boilerplate-rn-sdk#push-notification-support" --npm
After running this command, change into the directory of your new app using cd MyAtomicApp.
Then, start the Metro bundler in one terminal using the following command:
npx react-native start
In a second terminal, run the following command to launch the app on an iOS simulator:
npx react-native run-ios
Set up the stream container
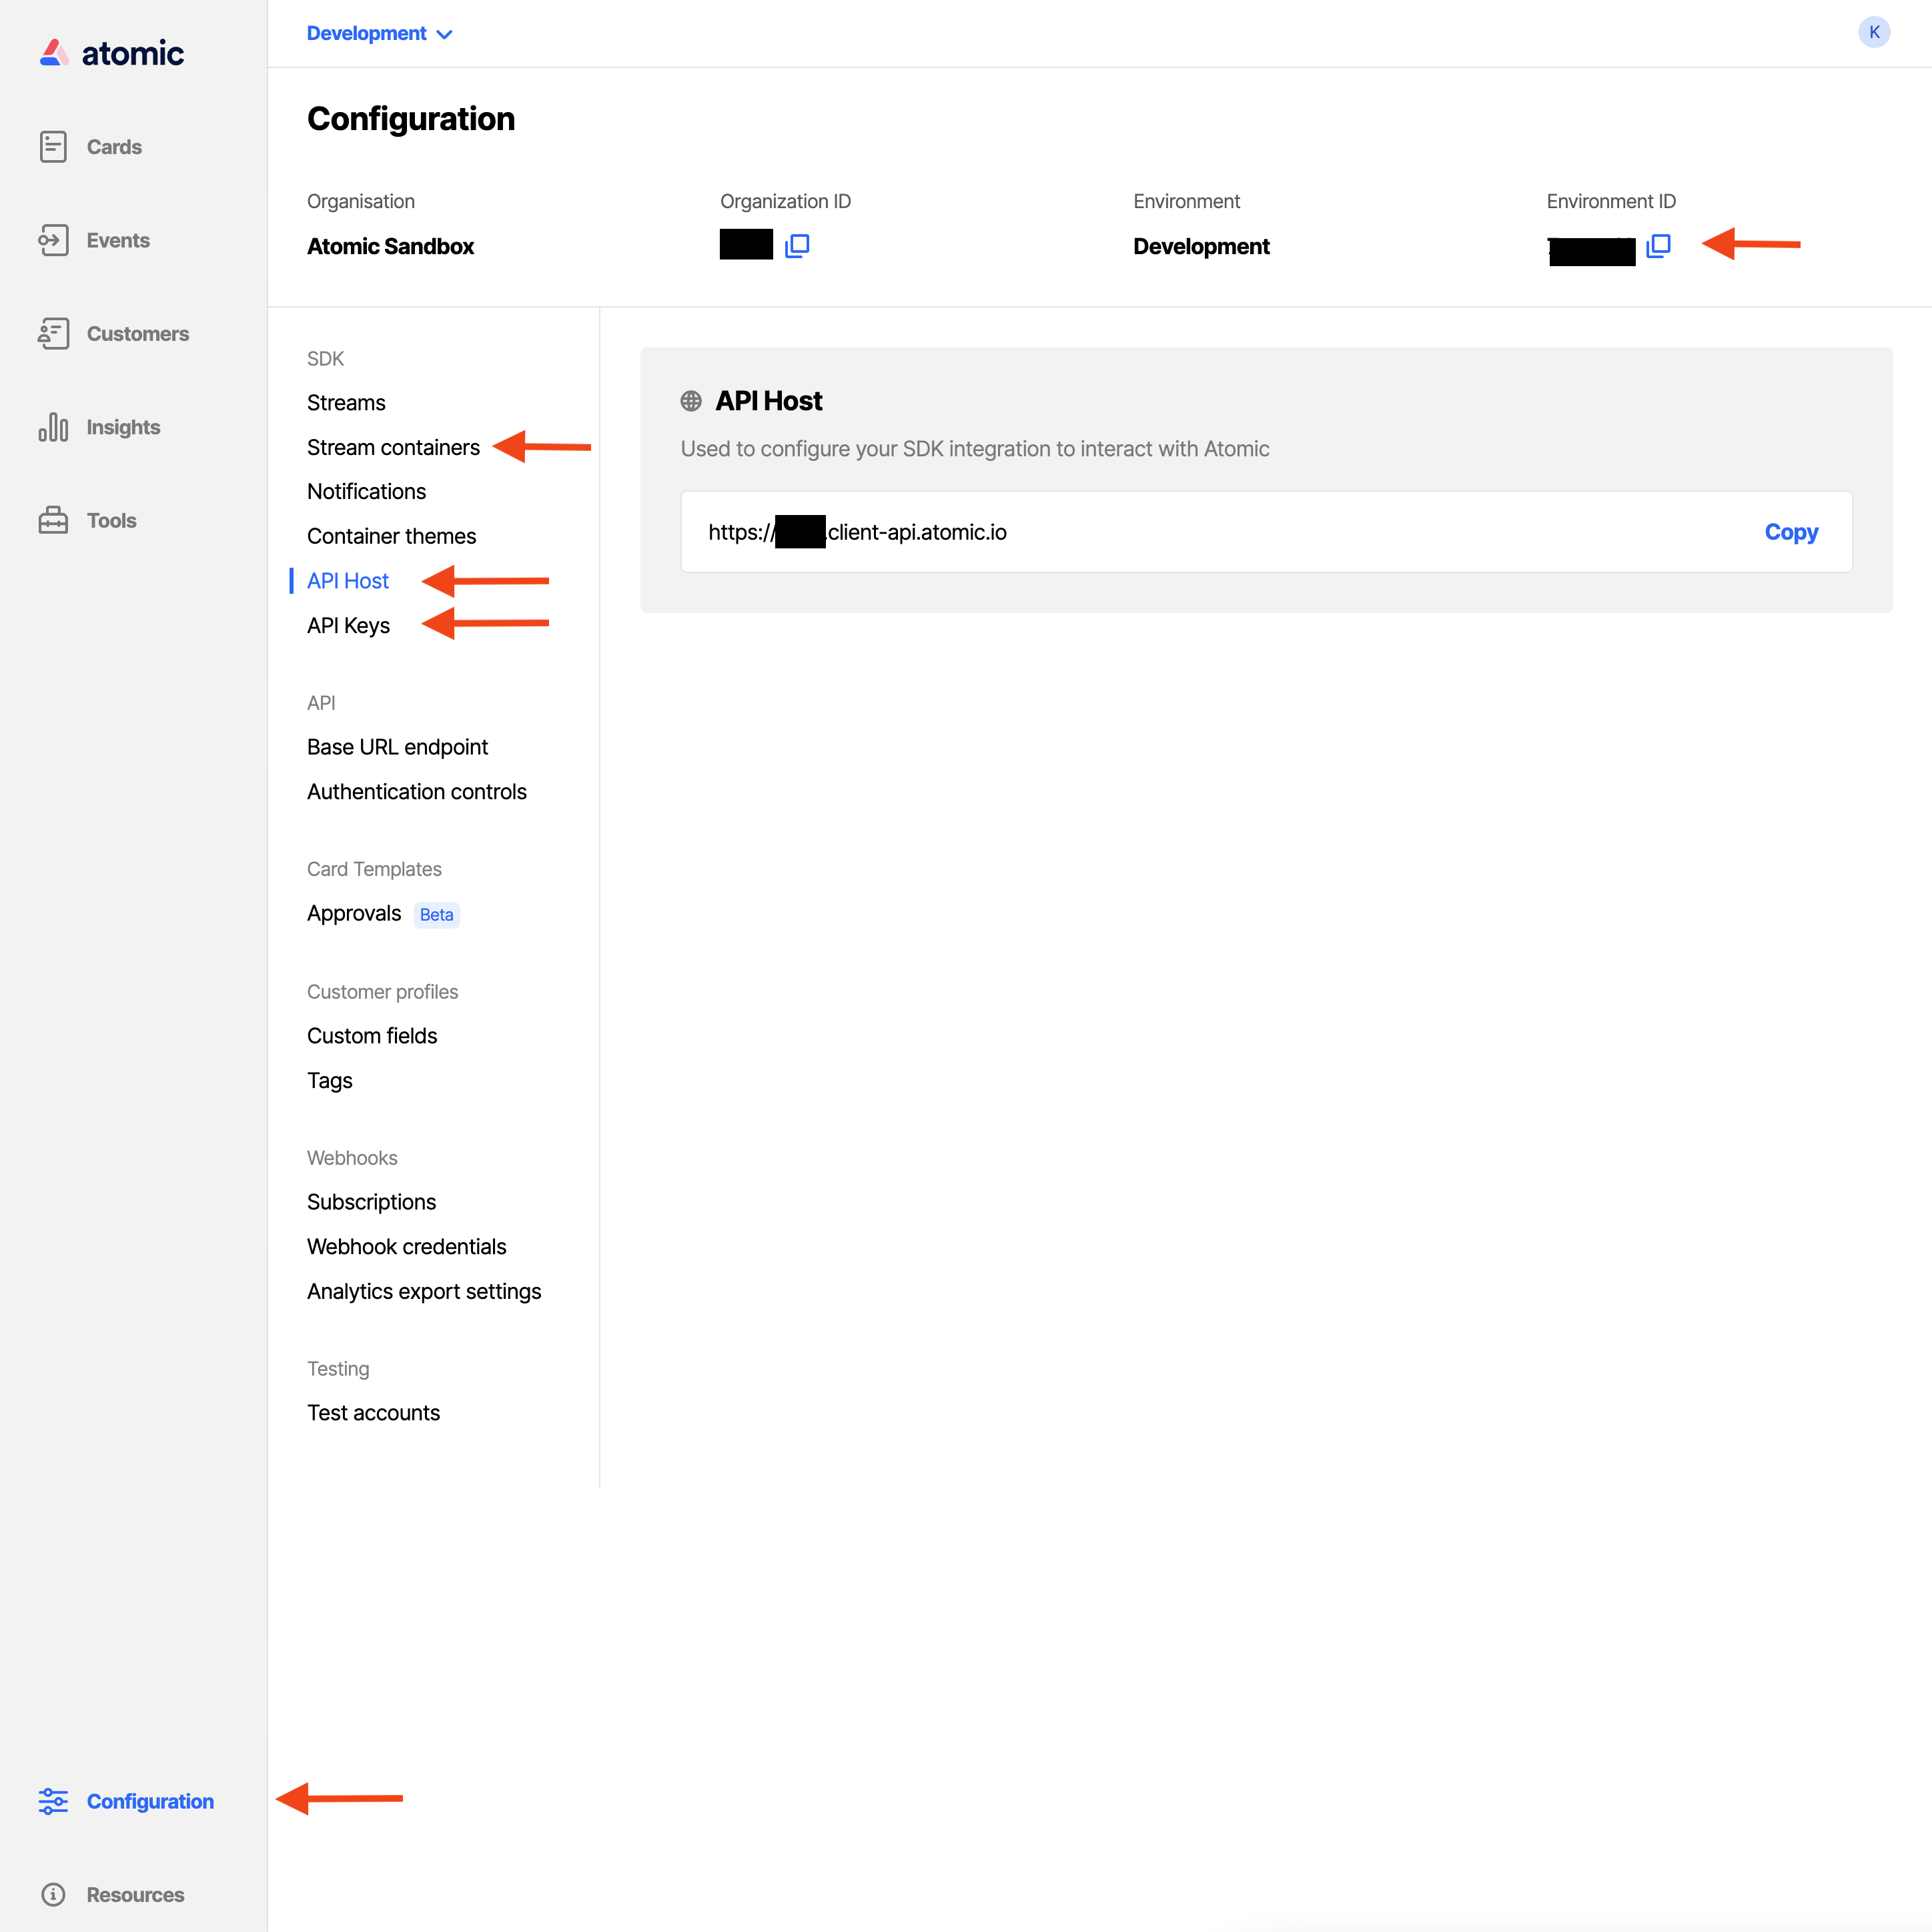
Collect the configuration details to display your stream container. These can be found in the workbench.
Open the App.tsx and modify the values of the constants at the top to include your unique details.

const ATOMIC_API_HOST = '';
const ATOMIC_API_KEY = '';
const ATOMIC_ENVIRONMENT_ID = '';
const ATOMIC_STREAM_CONTAINER_ID = '';
const ATOMIC_REQUEST_TOKEN_STRING = '';
Save the file and reload your app. You should now see your stream container. Try sending a card from the workbench and it will appear here.
Set up code signing (iOS)
To set up the signing for your iOS app, open the ios/MyAtomicApp.xcworkspace file in Xcode. From there, navigate to the project settings for your app and select the MyAtomicApp target.
In the "Signing and Capabilities" section, select your Apple development team (which should be your organization, not personal). Xcode automatically creates a provisioning profile.
Once this is done, connect your physical iOS device to your computer. In a second terminal window, run the following command:
npx react-native run-ios --device
Tip: You can also run the app directly from Xcode using the Run command (Command-R). You will need to provide a '.xcode.env' file in the iOS folder which exports the location of your 'Node.js' binary.
Once you have successfully built and deployed your React Native app to your physical iOS device, you should see the app running and the stream container displaying cards.
Next, we need to set up the push certificate to receive push notifications.
Create the push certificate (iOS)
We will create a push certificate, and then upload it to the Atomic platform to allow Push Notifications to be sent to our new app.
First, open the Apple Developer portal, and then go to the Certificates, Identifiers & Profiles section.
Find your app in the list and click on it to open the "Edit your App ID Configuration" screen.
In the capabilities tab, scroll down until you see "Push Notifications". Make sure that the checkbox is ticked, and press "Configure" to add a Certificate.
A modal will be presented with options to create a Development SSL Certificate, or a Production SSL Certificate. We will create a Production SSL certificate which will also work for development builds, but if you like you can use two separate certificates.
Follow the instructions under "Create a New Certificate", you will have to create a Certificate Signing Request (CSR) and upload it.
You can then download the SSL certificate, this will download a aps.cer file to your computer. Double-click this file to install it into your keychain, this will request your login password. Once the certificate is installed in your keychain, you can find it under the My Certificates tab of Keychain Access. It should be named Apple Push Services: org.reactjs.native.example.MyAtomicApp, press the caret to expand the item and you will see a private key attached to the certificate.
Select both the certificate and the private key, and right-click to select "Export 2 items...". Give the Certificate a name, for example, MyAtomicAppPushCertificate and ensure that the file format is Personal Information Exchange (.p12). Keychain access will prompt you for a password, enter one and take note of it as you will need it later.
Add the certificate to the Workbench (iOS).
To add your certificate for push notifications in Atomic, start by opening the Configuration tab of the workbench. Then, navigate to the Notifications section under SDK. From there, you can use the 'New platform' button to add your certificate.
Select the platform as iOS Sandbox.
Tip: iOS Sandbox setup will send push notifications to Apple's 'sandbox' APNs. In practice, this means that development builds of your app (such as those created by installing directly onto your device from Xcode) will receive the push notifications, but production builds (those created using a release configuration, such as builds installed through Testflight or the app store) will not. For production builds choose the 'iOS' platform.
In the next field, enter the bundleId of your app, for example, org.reactjs.native.example.MyAtomicApp.
Under Authentication type, choose Certificate, and enter the password that you set when exporting the certificate from Keychain Access.
To add your certificate file, drag the .p12 file you exported from Keychain Access into the file picker, and then select Save.
Setup Card for Notifications
In the Atomic workbench, go to the Cards tab, select one of your existing Cards, or create a new one. Select that Card to edit it, and go to the Notifications tab. Enable the 'Native notifications' setting.
Enter a title and a message. Then in the bottom right corner, select the "Send a Test Card" button. Check that the account and stream are the same as you set up your stream container for earlier. Press the send button.
On your iOS device, if the app is running you should receive both the card, along with a push notification.
Setup Google services (Android)
For notifications on Android, we will use Firebase Cloud Messaging. To do this we will need to set up our app with the Google firebase console.

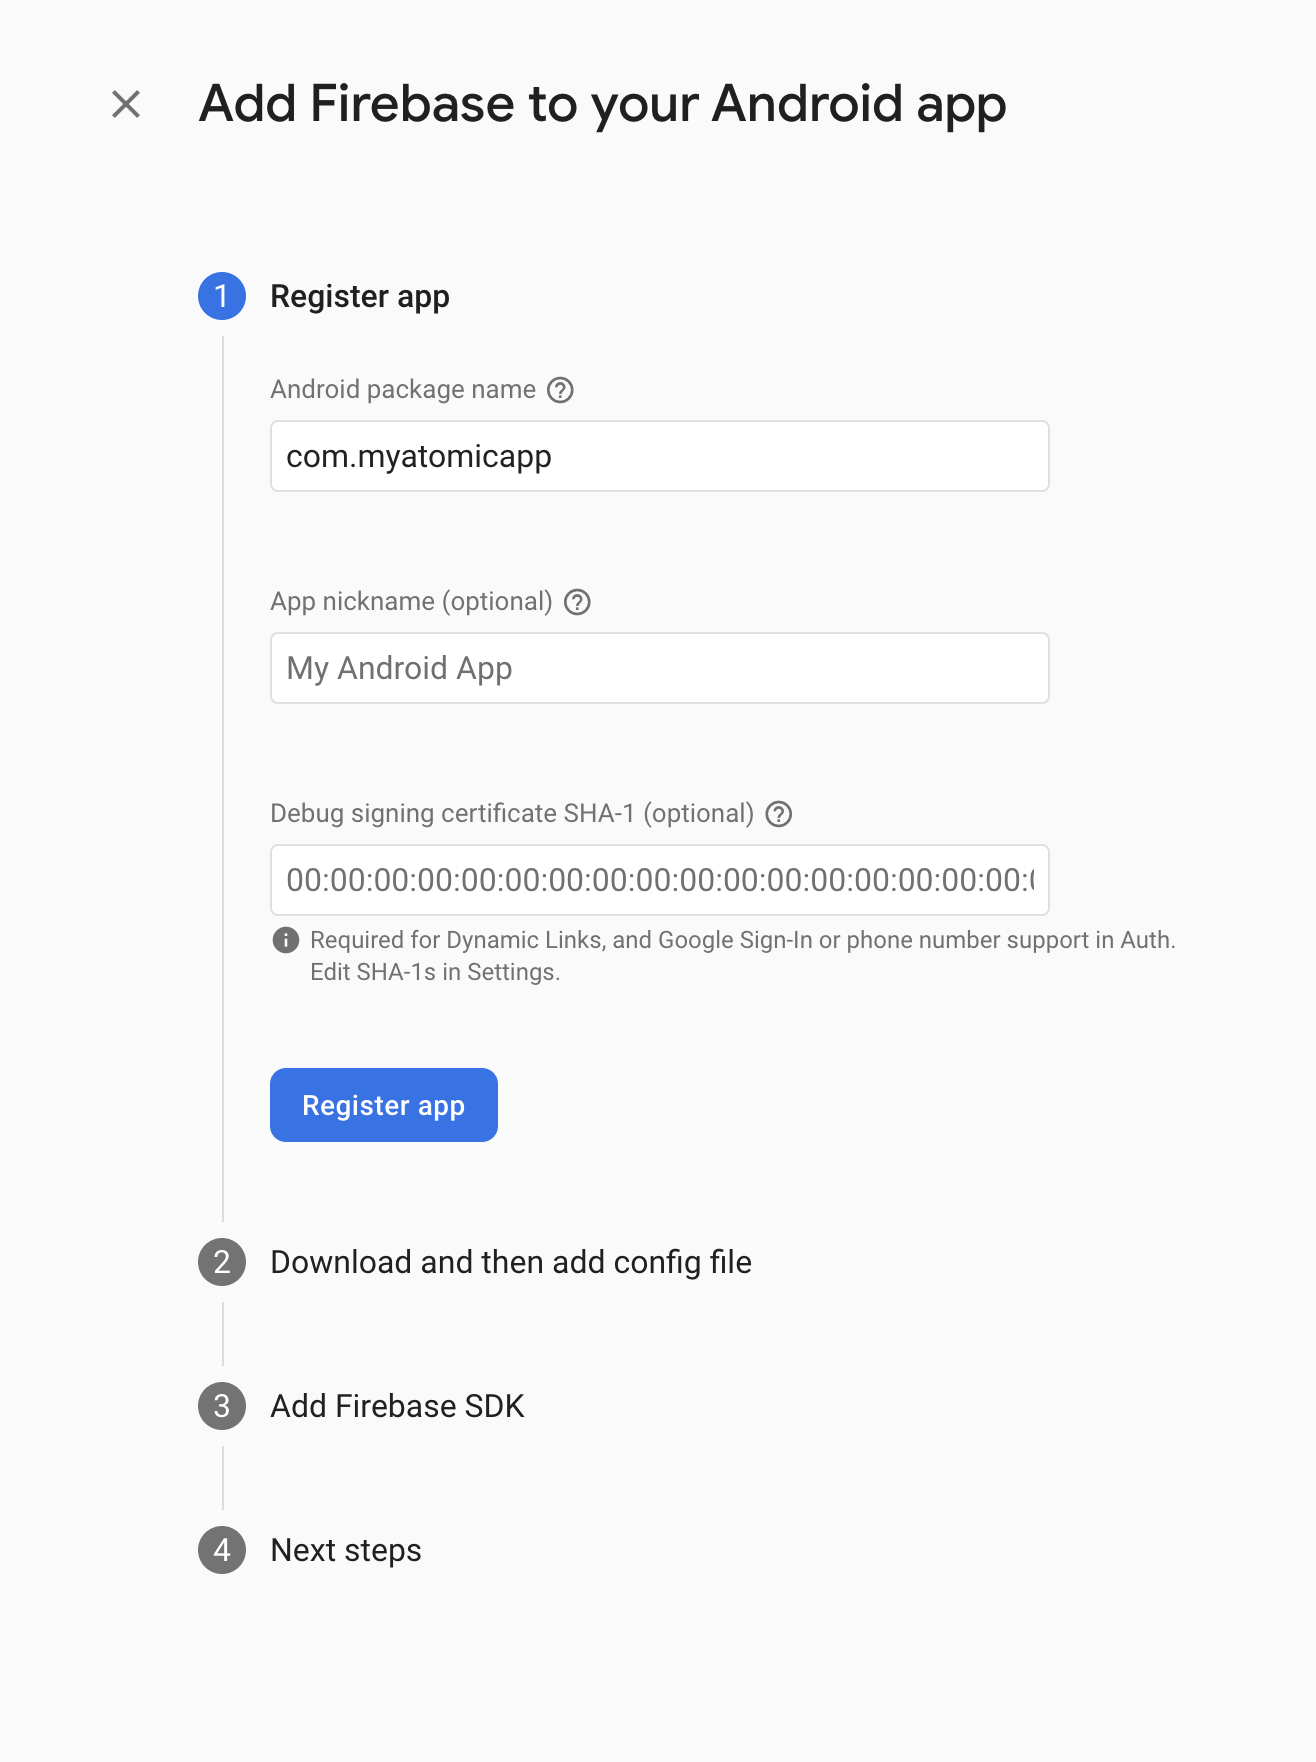
You will need to "Create a Firebase Project", and then "Register your app with Firebase". You can skip the Gradle plugin setup, as that is already done for the app template we are using.
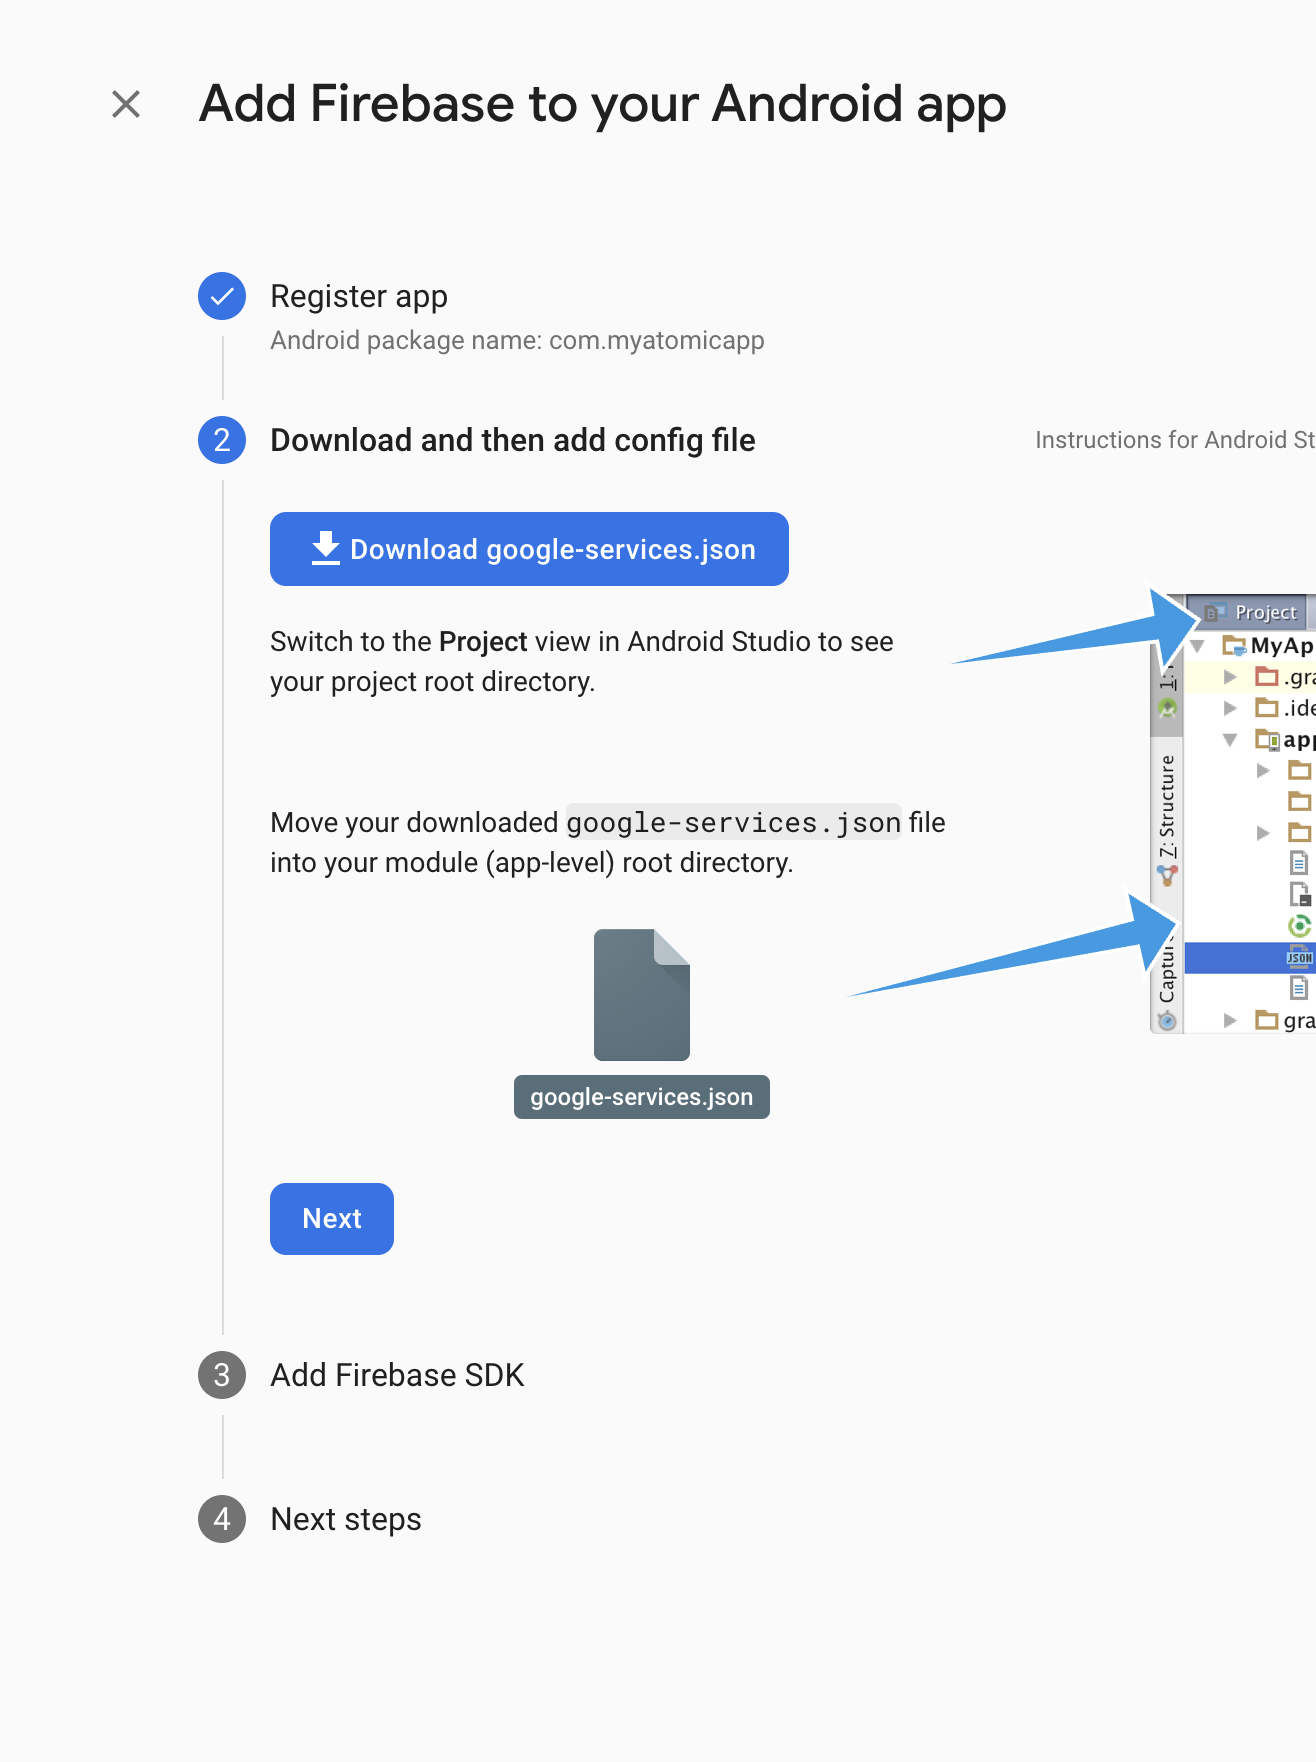
After that, you should be able to download your google-services.json file and save it in the android/app directory of your app.

The app will now build and run on the Android emulator.
Enable Legacy Firebase Cloud Messaging (Android)
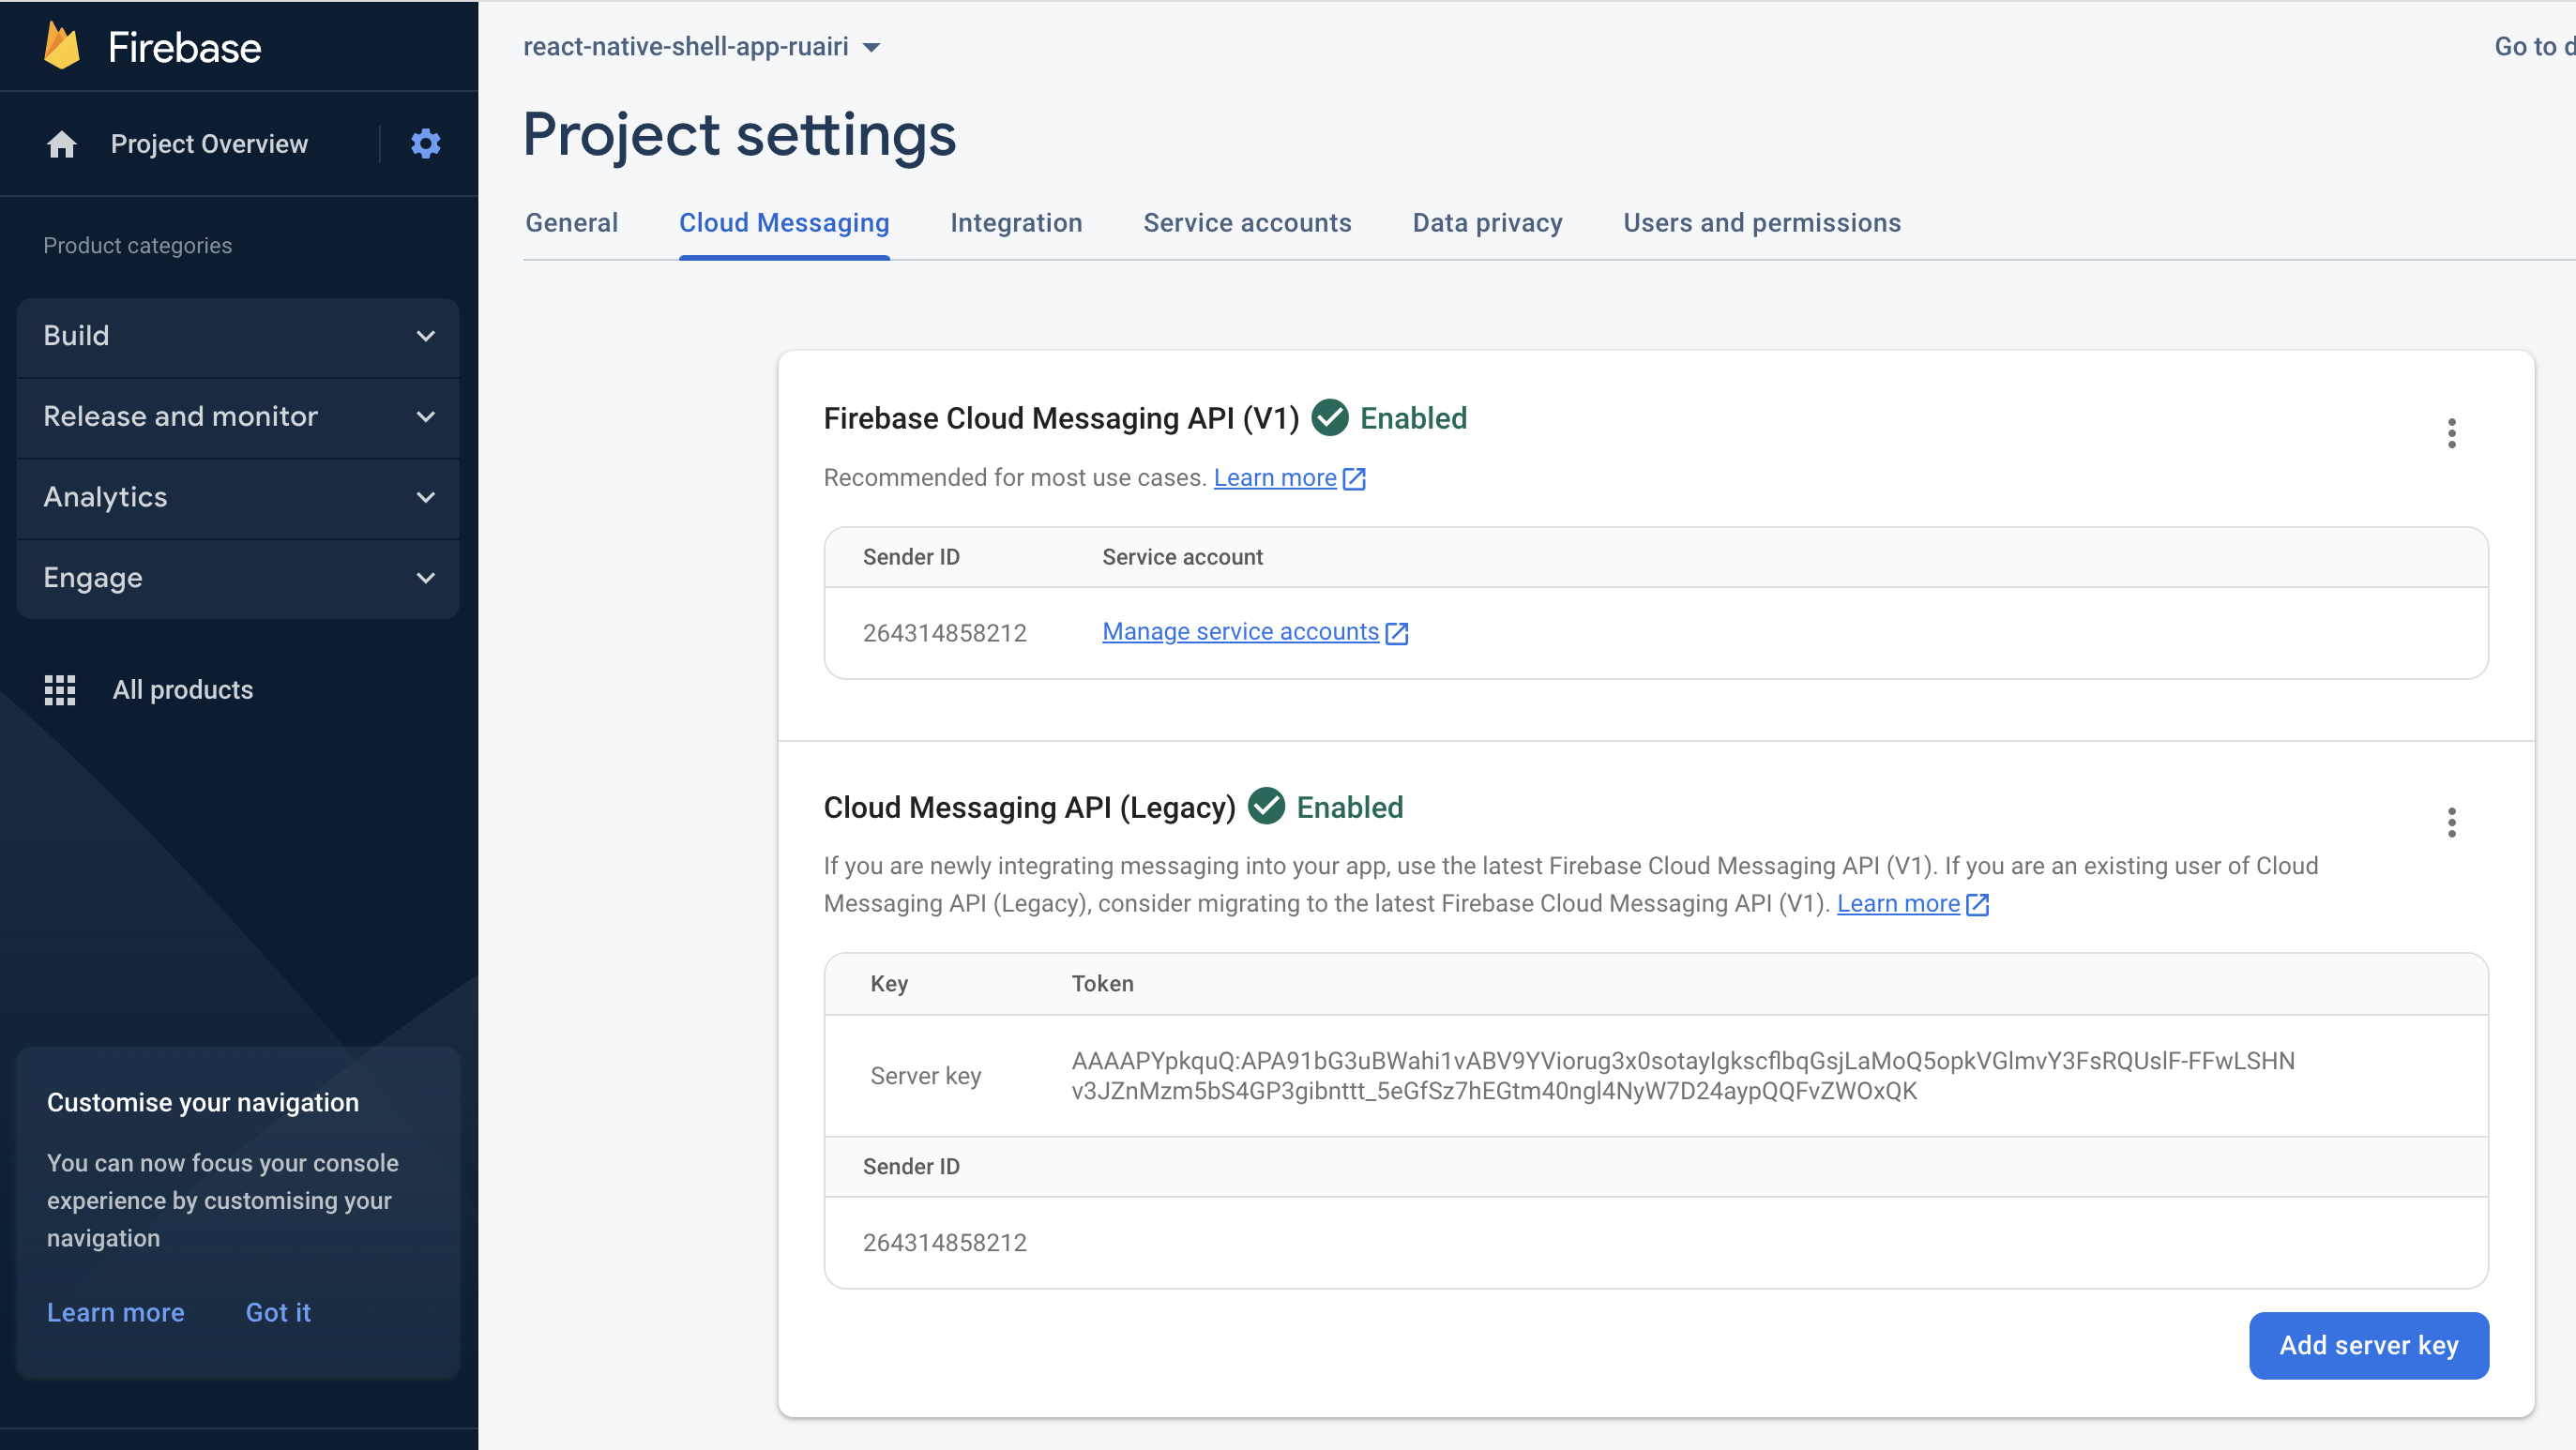
Find your app in the Firebase console. Click on it and press the "Cog" to modify the project settings.
Go to the "Cloud Messaging" tab.
If Cloud Messaging API (Legacy) is disabled, select "Manage API in Google Cloud Console". Then "Enable" on the next screen.
Go back to the project settings and refresh. There should now be a "Key" and "Token" listed. Copy the Token, as you will need it for setting up notifications in the workbench.

Add the push token to the Workbench (Android).
To add your token for push notifications in Atomic, start by opening the Configuration tab of the workbench. Then, navigate to the Notifications section under SDK. From there, you can use the 'New platform' button to add your certificate.
Select Android for the platform.
For the App Id, enter the application id you used when creating the google-services.json file, which can be found in the android/app/build.gradle file beside applicationId.
For the Server key, enter the token from the firebase project settings that we copied before.
For the Channel ID, enter 'atomic-notifications', this value comes from the 'App.tsx' file when we create the notifications channel.
Leave "Enter a restricted package name" blank.
Then press save.
Run your app on an Android emulator or device with the following command
npx react-native run-android
Accept the notifications permission.
Follow the steps for setting up a card for notifications and test sending a card. You should receive the card along with a corresponding push notification.
Troubleshooting
If you're experiencing issues receiving push notifications for your app, there are a few steps you can take to troubleshoot:
- ensure that your app is running and that you have enabled notifications on your device. Also, make sure you accepted the notification permissions for the app during installation.
- if you're not receiving the expected notification card, there may be an issue with setting up your stream container, or you may be sending the card to the wrong user. Double-check all the configuration settings to ensure everything is set up correctly.
You can enable debug logs in the SDK to help diagnose the issue. Add the following line to your App.tsx file before any calls to AtomicSession:
AtomicSession.enableDebugMode(3);
Then run the app from Xcode by opening the MyAtomicApp.xcworkspace file, and view the logs using the Console in the bottom right of Xcode.
On Android, you can open Android Studio, and use Logcat to view the native logs to look for any errors.
On iOS, check for two logs that should be present if the calls to register the device and stream container with Atomic were successful:
AtomicSDK iOS Successfully updated device token for current user.
AtomicSDK iOS Successfully registered stream container IDs against user.
If you don't see these logs, investigate for errors such as API failures that might have prevented these calls from being successful.
If the success logs are present, but you still aren't receiving notifications, it may be an issue with your certificate. Double-check that you followed all the steps to create and upload your certificate correctly. You can try debugging the integration by following the steps here to send a notification using command line tools.